

Some Background
Let me begin by painting a picture. Perhaps you would like to place cameras around a space at your business or home and monitor them throughout the day.
You could do this from your phone, but you do not want to tie up your phone, and you would like to display a live feed all of the time. In addition, you do not want to use a fixed monitor since you want to take the screen with you. You could do this with a tablet, but most of the tablet software that connects to cameras works over the internet, and you do not want to risk having someone hack into your feed.
Yes, maybe you are a bit paranoid, but who cares. So let's layout a solution.
First, you create a private wifi network in your space that is not connected to the internet. Then, you connect the camera using free software to a low-cost portable (laptop-like) computer that monitors the cameras, supports recording feeds, and does not require internet access.
Here is the project step by step.
Project Cost
In this post, I will show you how to do this with Reolink IP Cameras, a Raspberry Pi 4, and a RaspPad 10" Monitor, Battery, and Case. Your total cost for a two camera system is $580 or less. This will include the cost of a keyboard and mouse you can use to make setup easier. All prices are from Amazon as of January 2022.
- $219 - Raspberry Pi 4 Official Desktop Kit with 16GB SD card
- $219 - SunFounder RasPad 3.0 - an All-in-One Raspberry Pi 4B Tablet with a Built-in Battery, 10.1" Touchscreen, and onboard Audio and Power Supply
- $ 130 Two ReoLink E1 Pro Cameras (the E1 standard model will not work)
You can save at least $100 on the Raspberry Pi if you already have a keyboard and mouse and buy one without a case. Your cost will also vary based on the size of the SD card you want to use for video recordings.
Full Disclosure
Sun Foundry supplied the RasPad 3 at no cost for this review. I purchased the Raspberry Pi and the two cameras.
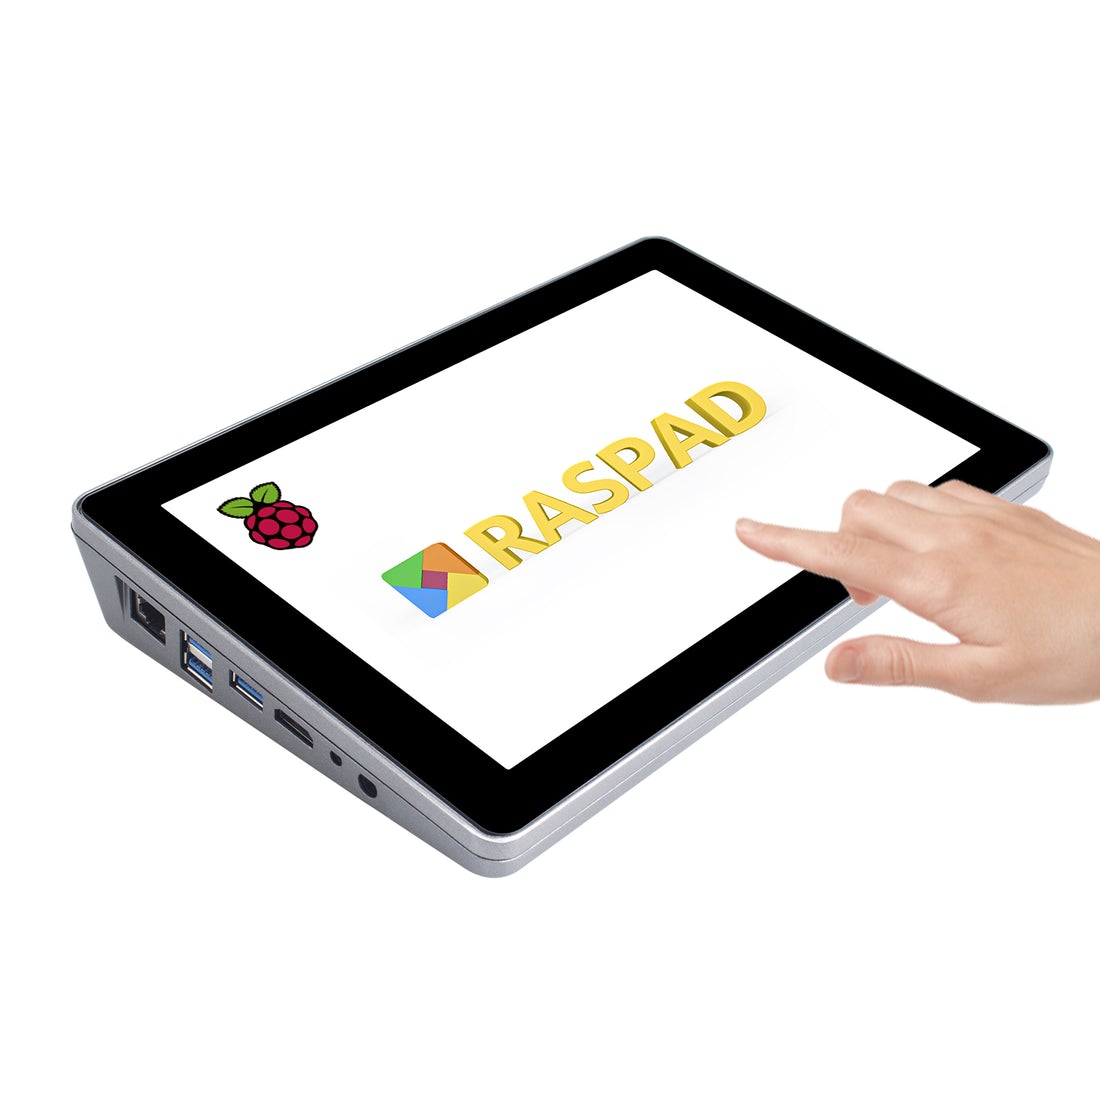
What is a RasPad 3?
The RasPad 3 is a well-engineered combination 10" touch screen with integrated speakers and a battery designed to transform a Raspberry Pi 3 or 4 into a laptop-style device. I was very impressed with the hardware and the quality of the screen. However, I was less impressed with the software, much of which was open source.
For example, I tried the virtual keyboard application Sun Founder recommended and found it quite challenging to use. After trying other solutions available for the Raspberry Pi, I could not find a virtual keyboard solution I was comfortable with.
I found the touch screen very responsive and an excellent building block for the right solution, along with the rest of the hardware. The hardware exposes the ports on the Raspberry Pi to the outside of the side, and the screen rotation hardware/software solution works well.
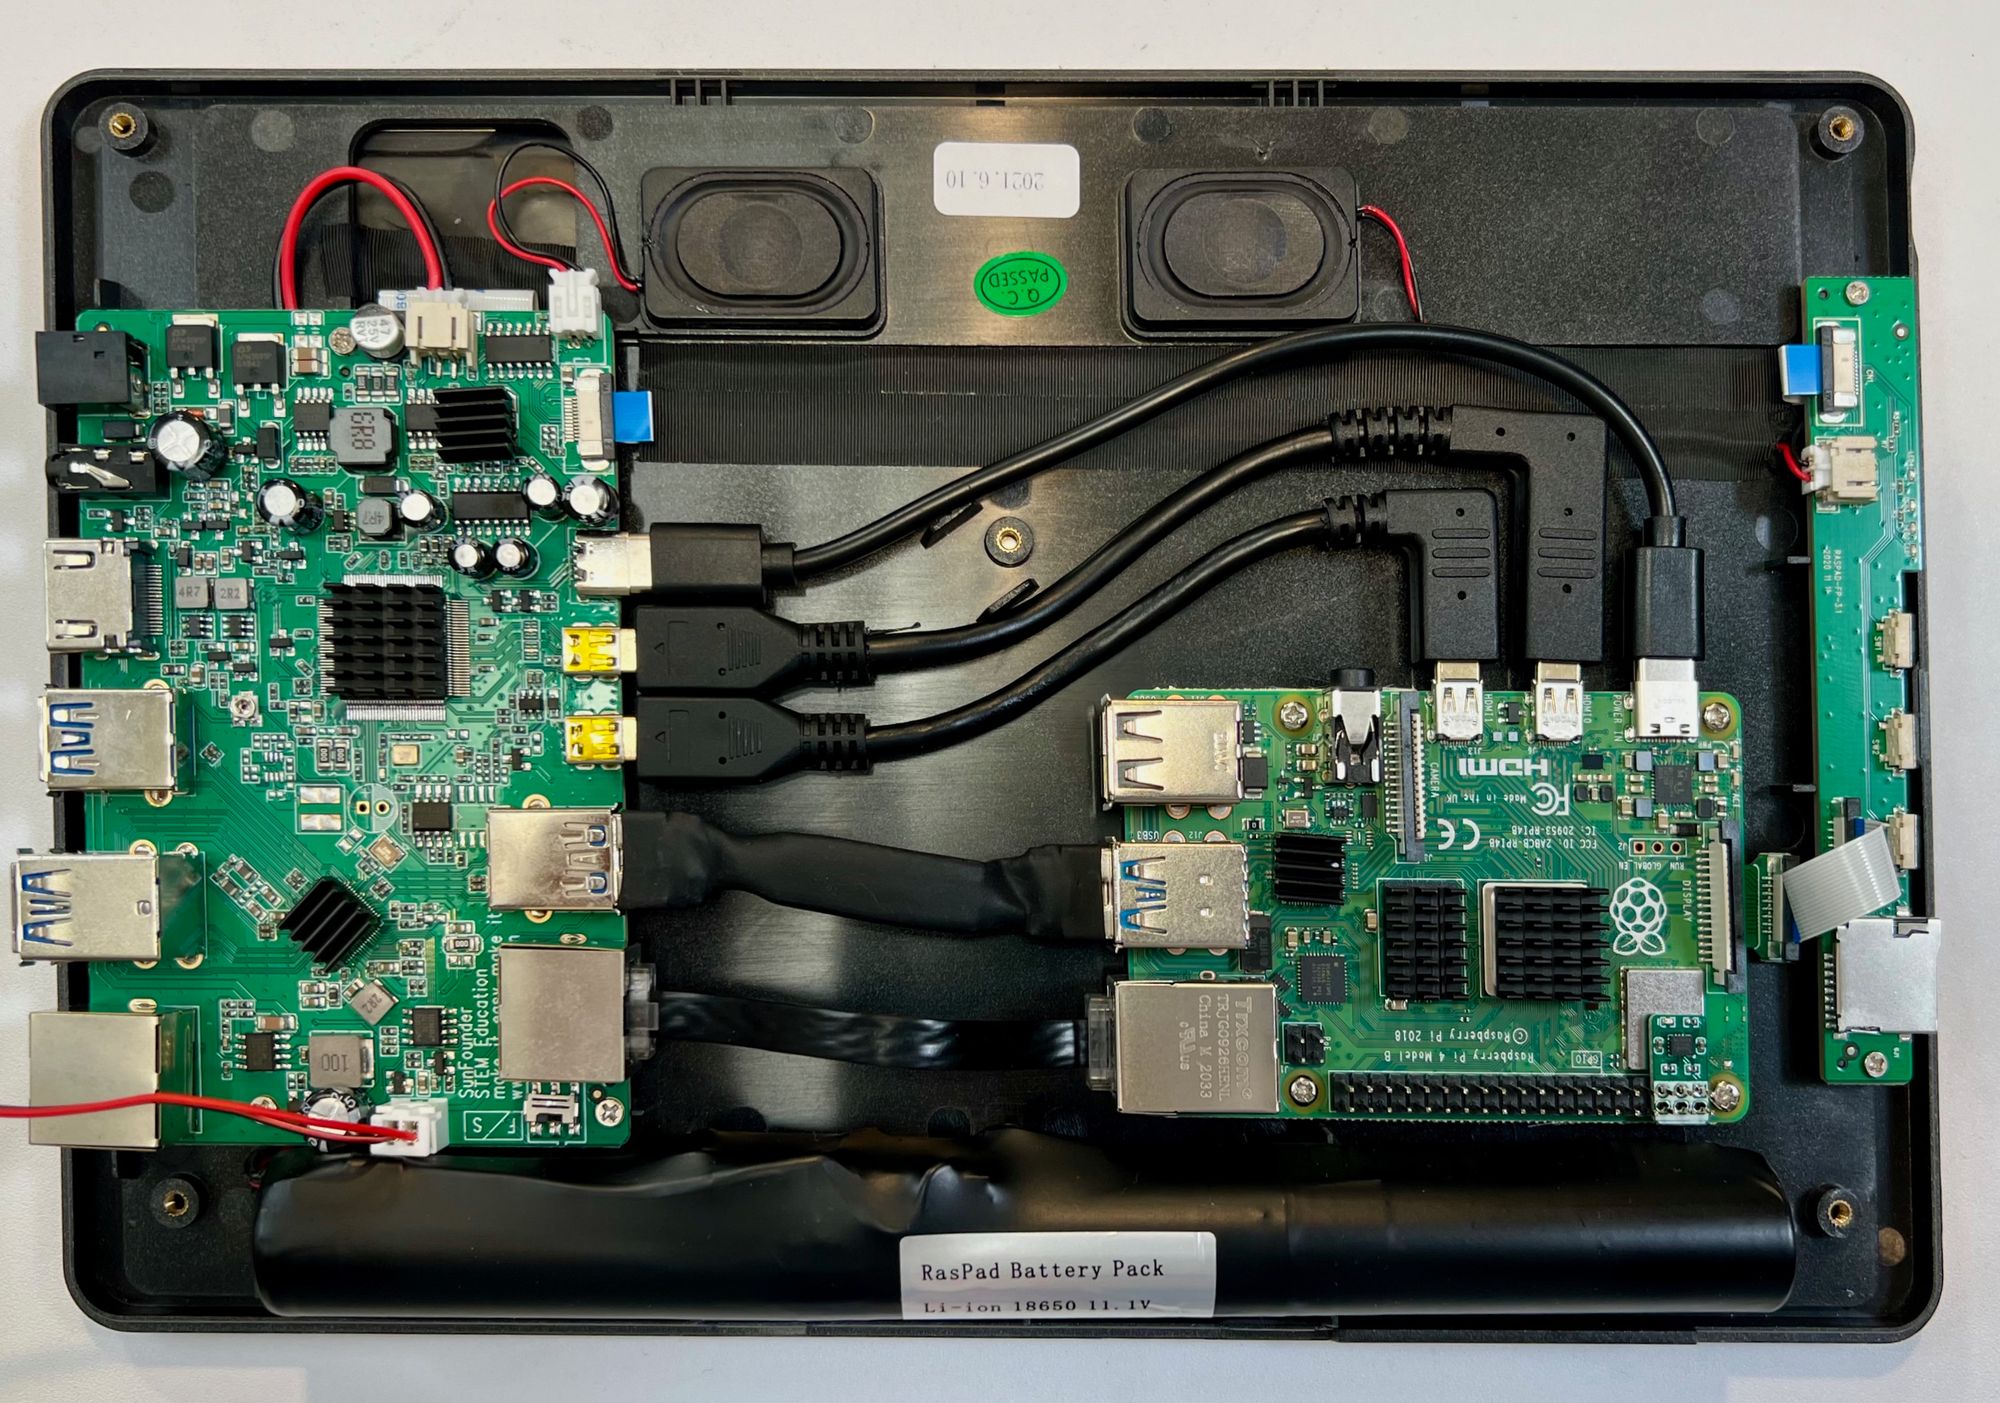
Installing the Raspberry Pi into the RasPad 3 Case
The installation consists of three steps. First, open up the RasPad case, attach all cables, place the orientation module over the correct pins on the Raspberry Pi GIO interface, and screw the Raspberry Pi in place.
The installation instructions for the RasPad 3 are pretty good on the Sun Founder website, so I will limit my comments to a couple of things that might help you out.
I found it easier to connect the cables before screwing the Raspberry Pi in place.
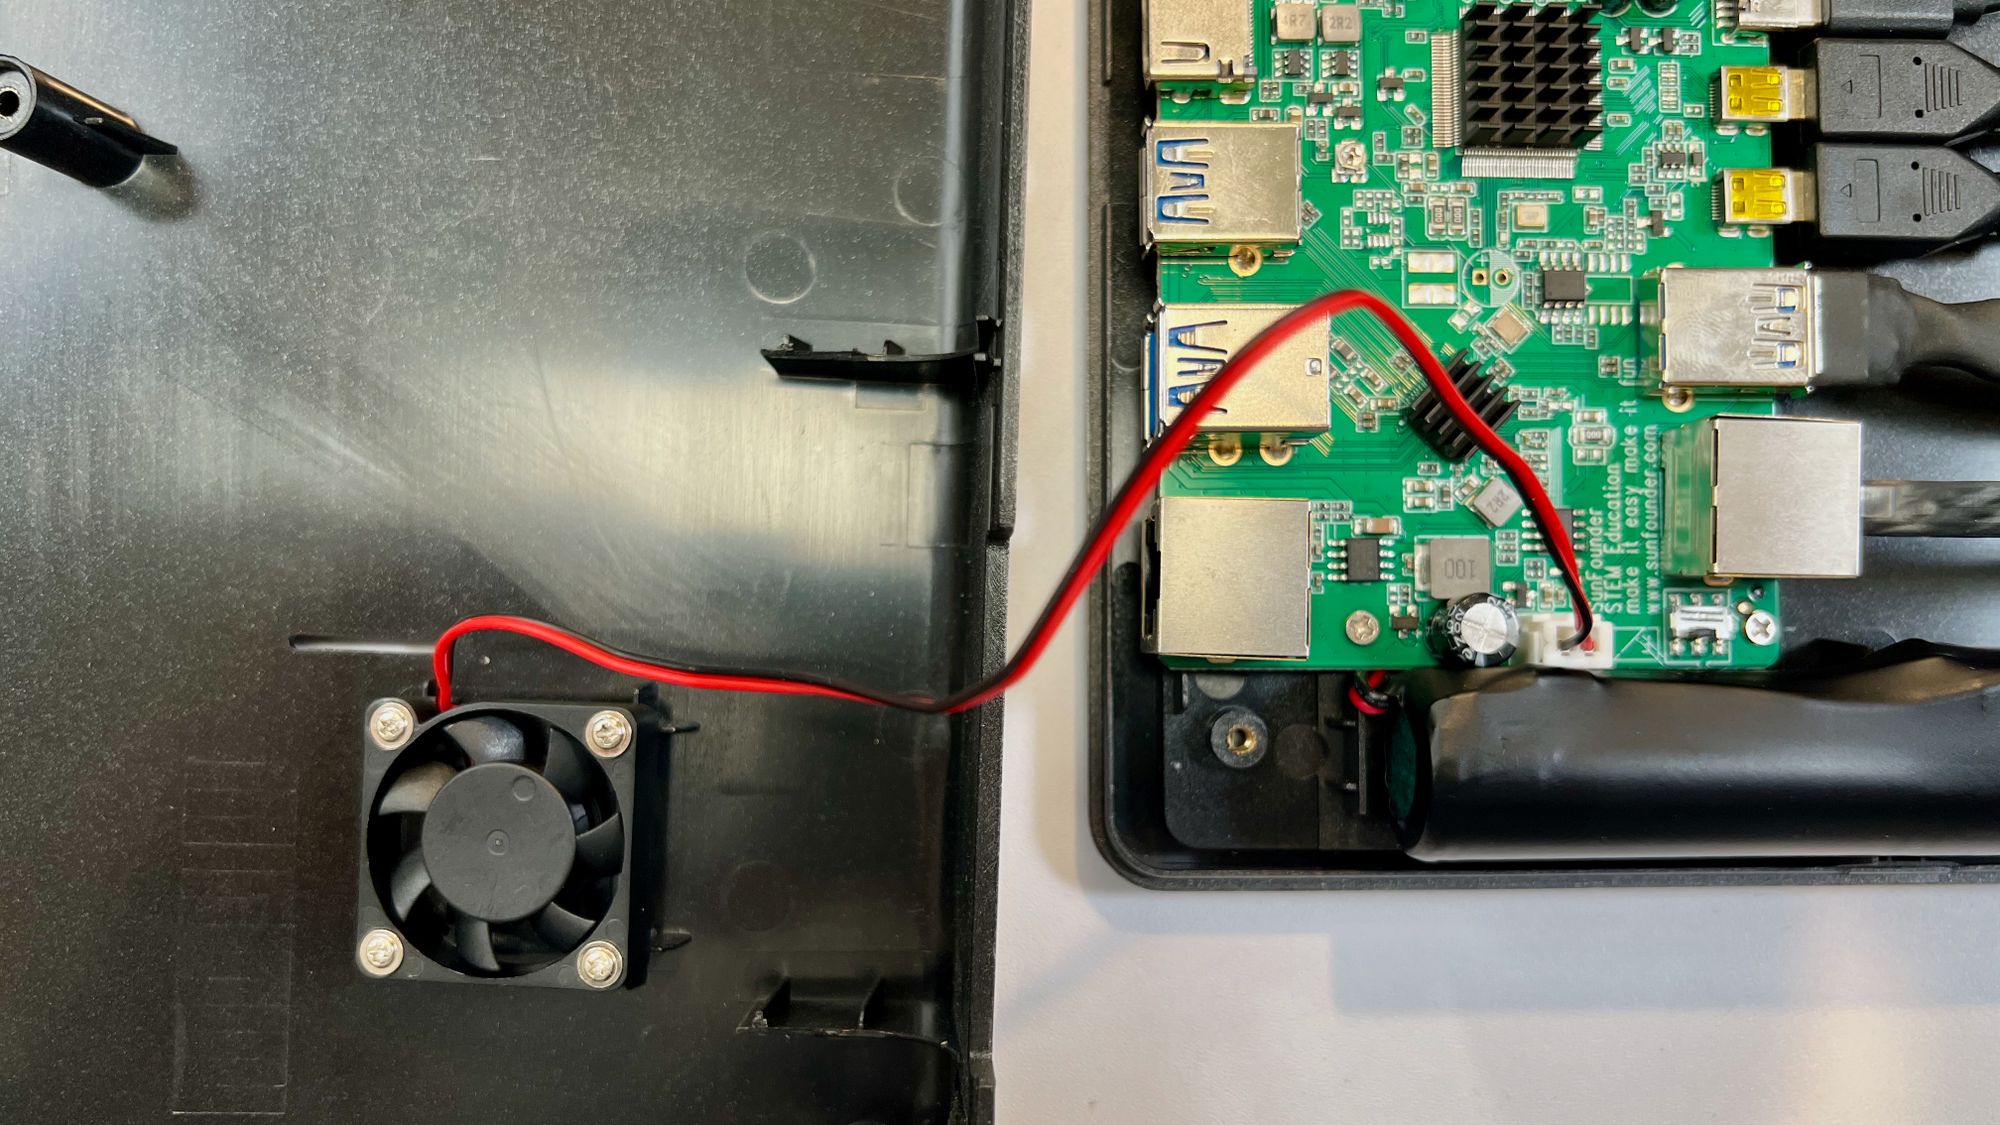
Make sure you connect the fan.
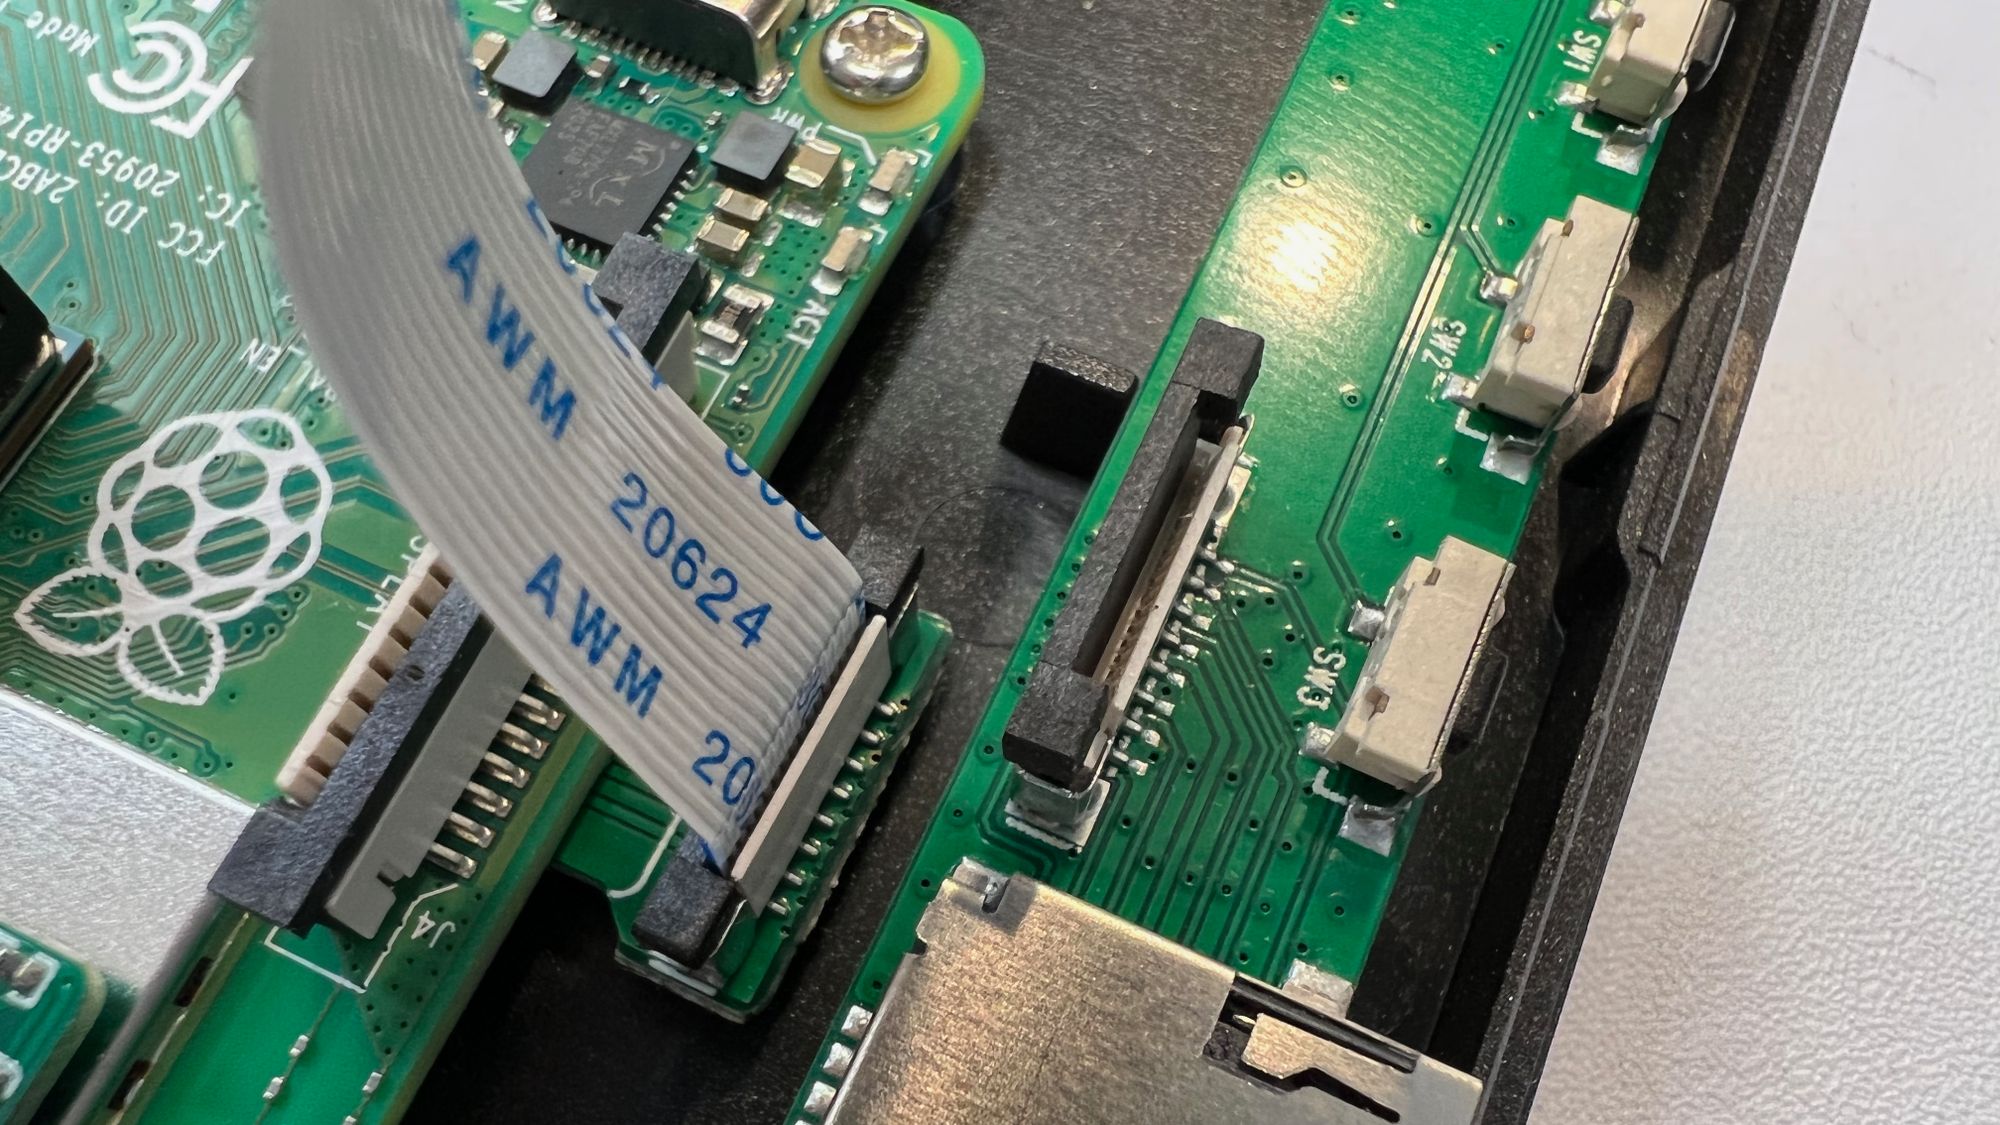
The ribbon cable connector is quite fragile. The connectors lift and push back slightly. Insert the ribbon cable and then push the connect lock (the black strip) back down to lock the cable in place.
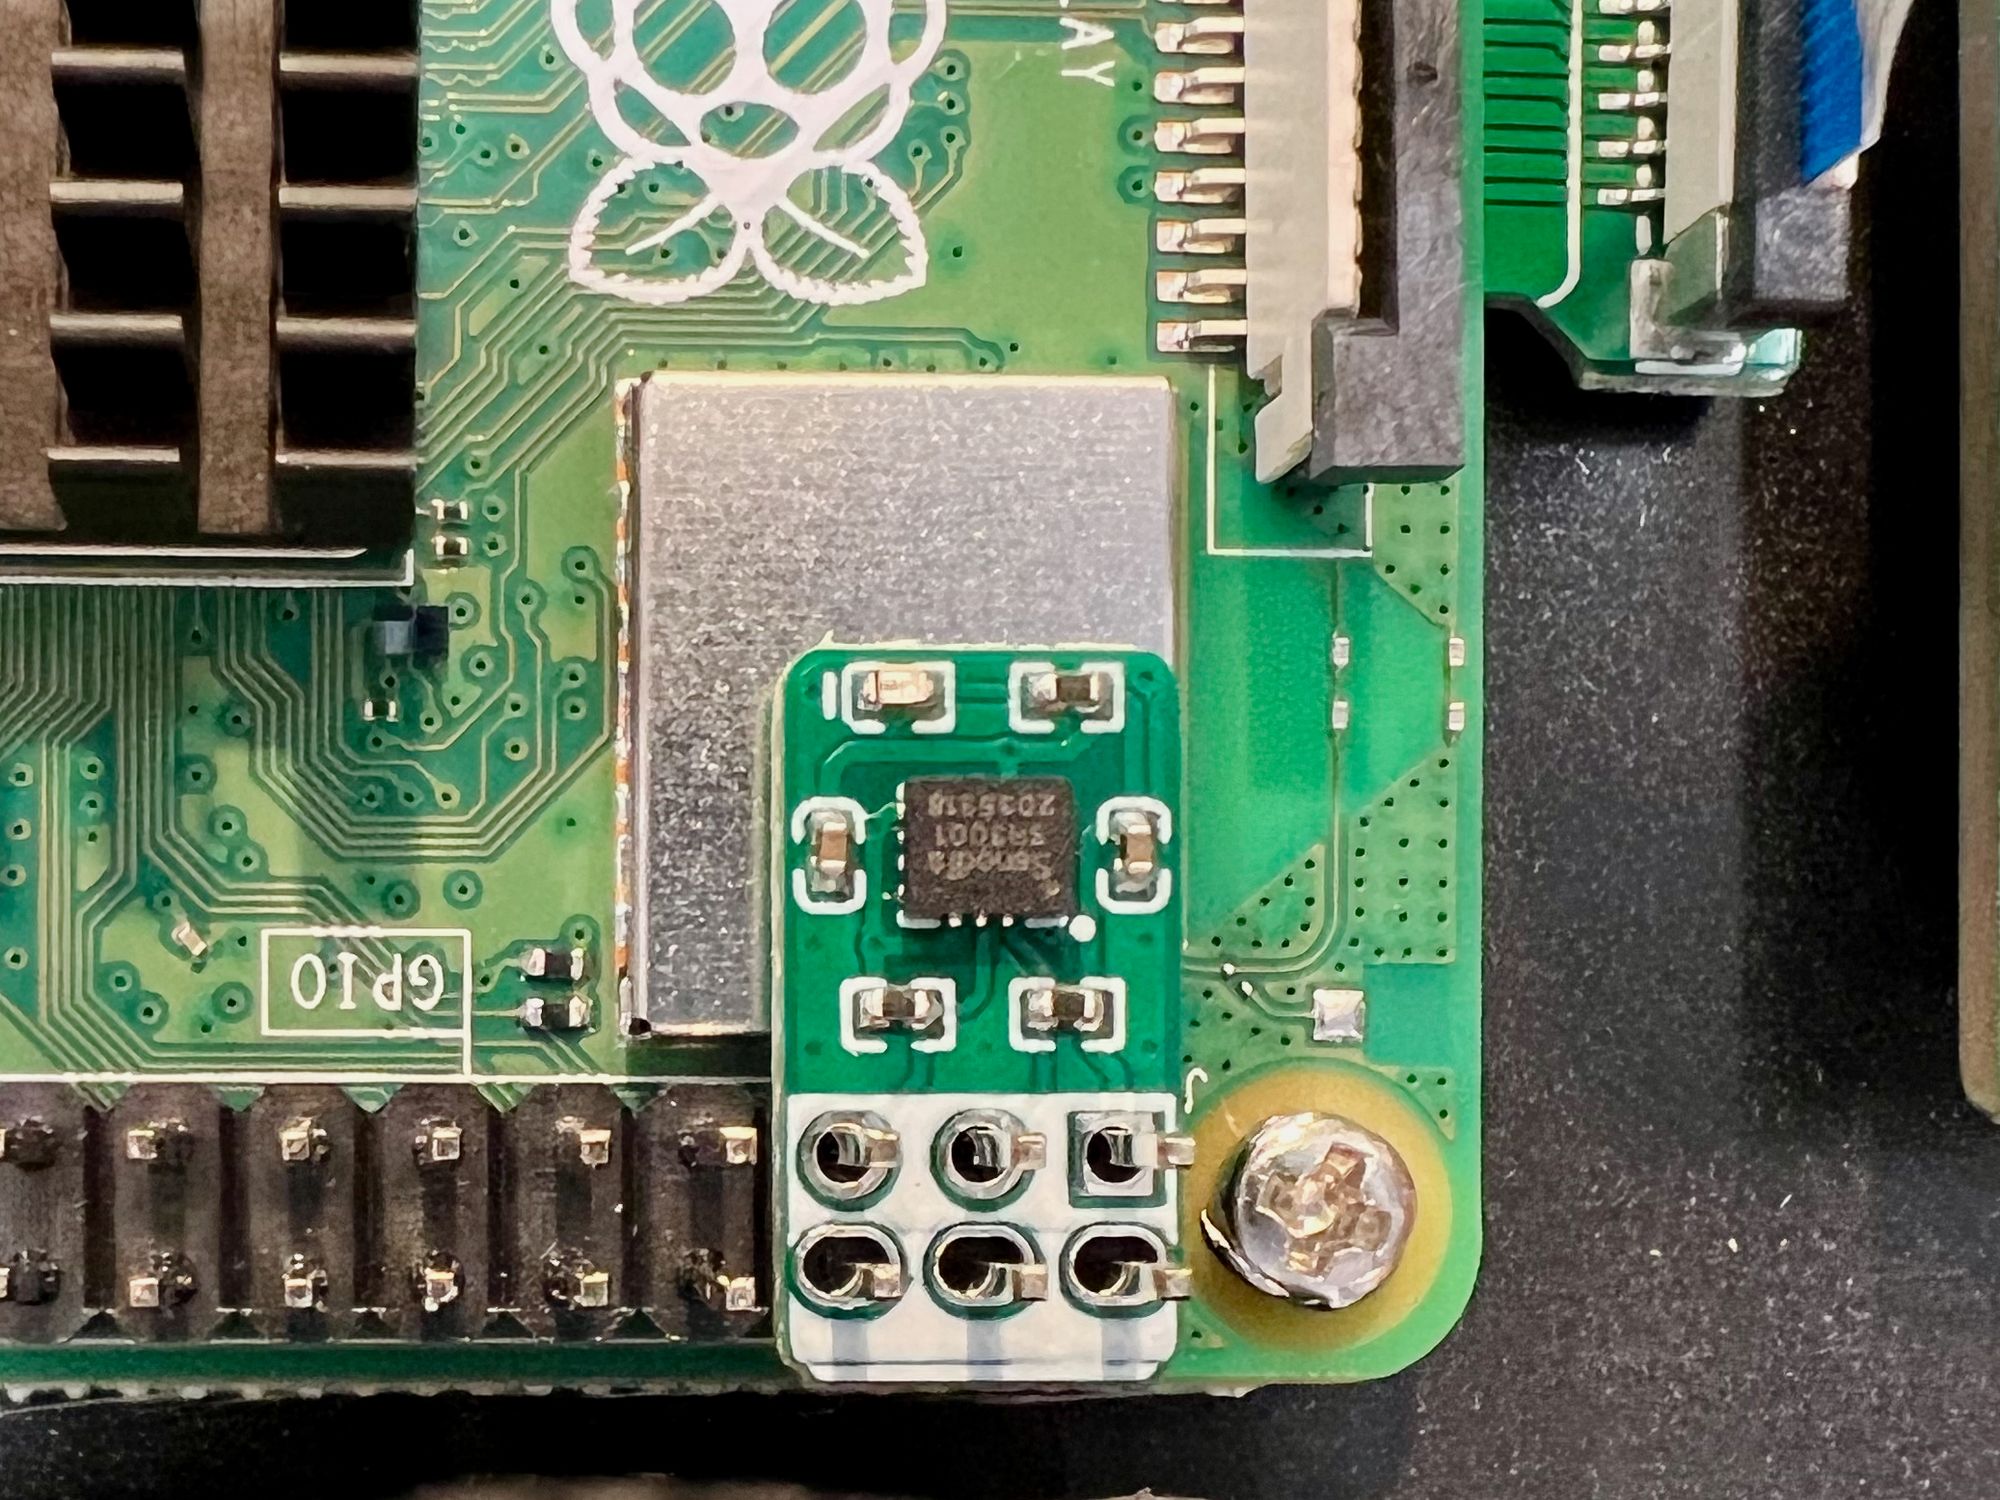
The Accel SHIM Module is used to determine the orientation of the device. Sun Founder supplies a custom software application that will monitor the screen's orientation and rotate it appropriately. This module sits on the Raspberry PI GIO pins. Ensure the module is firmly seated on the six pins, as shown below.
Next, we need to install a different version of the Raspberry Pi OS onto the SD Card. Your SD Card may have arrived with the relatively new "Bullseye" version of the software. Unfortunately, the Sun Founder supplied software that provides the ability to sense the rotation of the screen and automatically adjust the display does not currently work with "Bullseye." So instead, use Raspberry Pi OS version "Buster." To do this, first, install the "Raspberry Pi Imager" available at the following link on a traditional desktop or laptop computer.
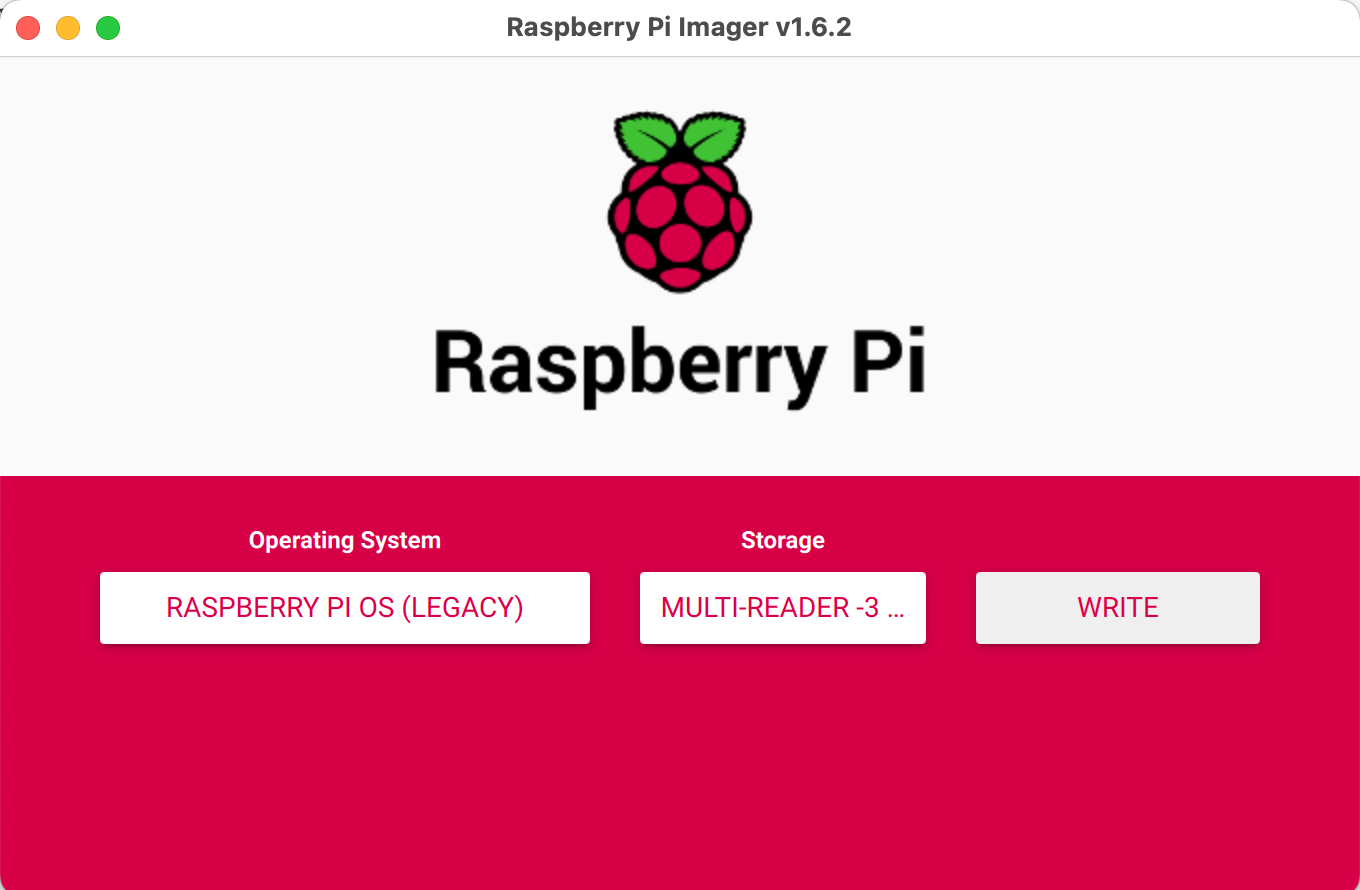
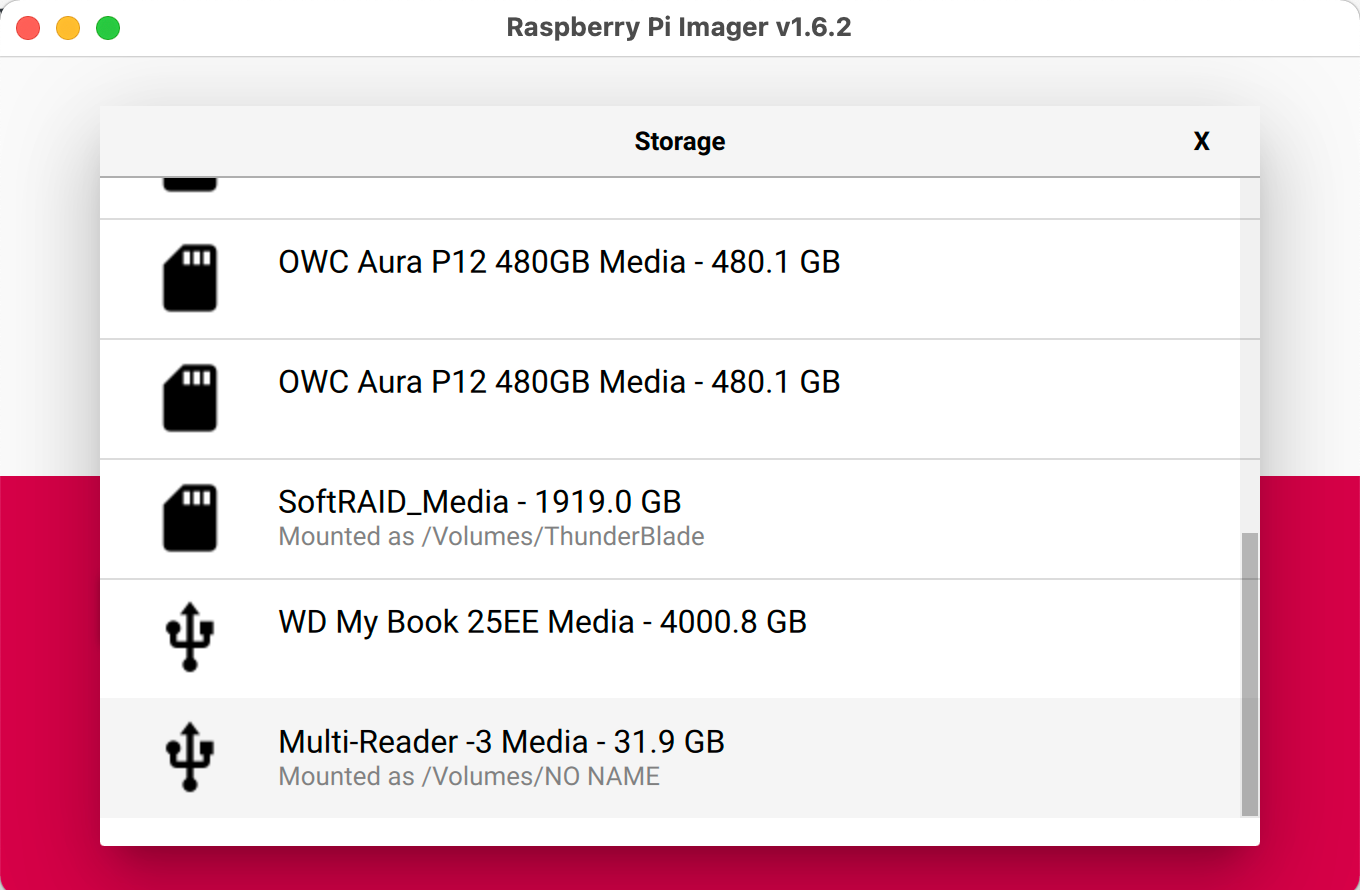
Next, put the SD card into our computer, run the program, click on "CHOOSE OS," and select Raspberry Pi Legacy (Buster) as the software to install. Again, make sure you select your SD card and not a regular hard drive, as this process will erase the selected location and put the Raspberry Pi software onto it.
Now, before clicking on write, while the mouse is focused in the imager window, type a ctrl-command-x (on a MAC) or a ctrl-shift-x (on Windows) to bring up the advanced options. If you are on a MAC, you can decline to fill in the password from the keychain option.
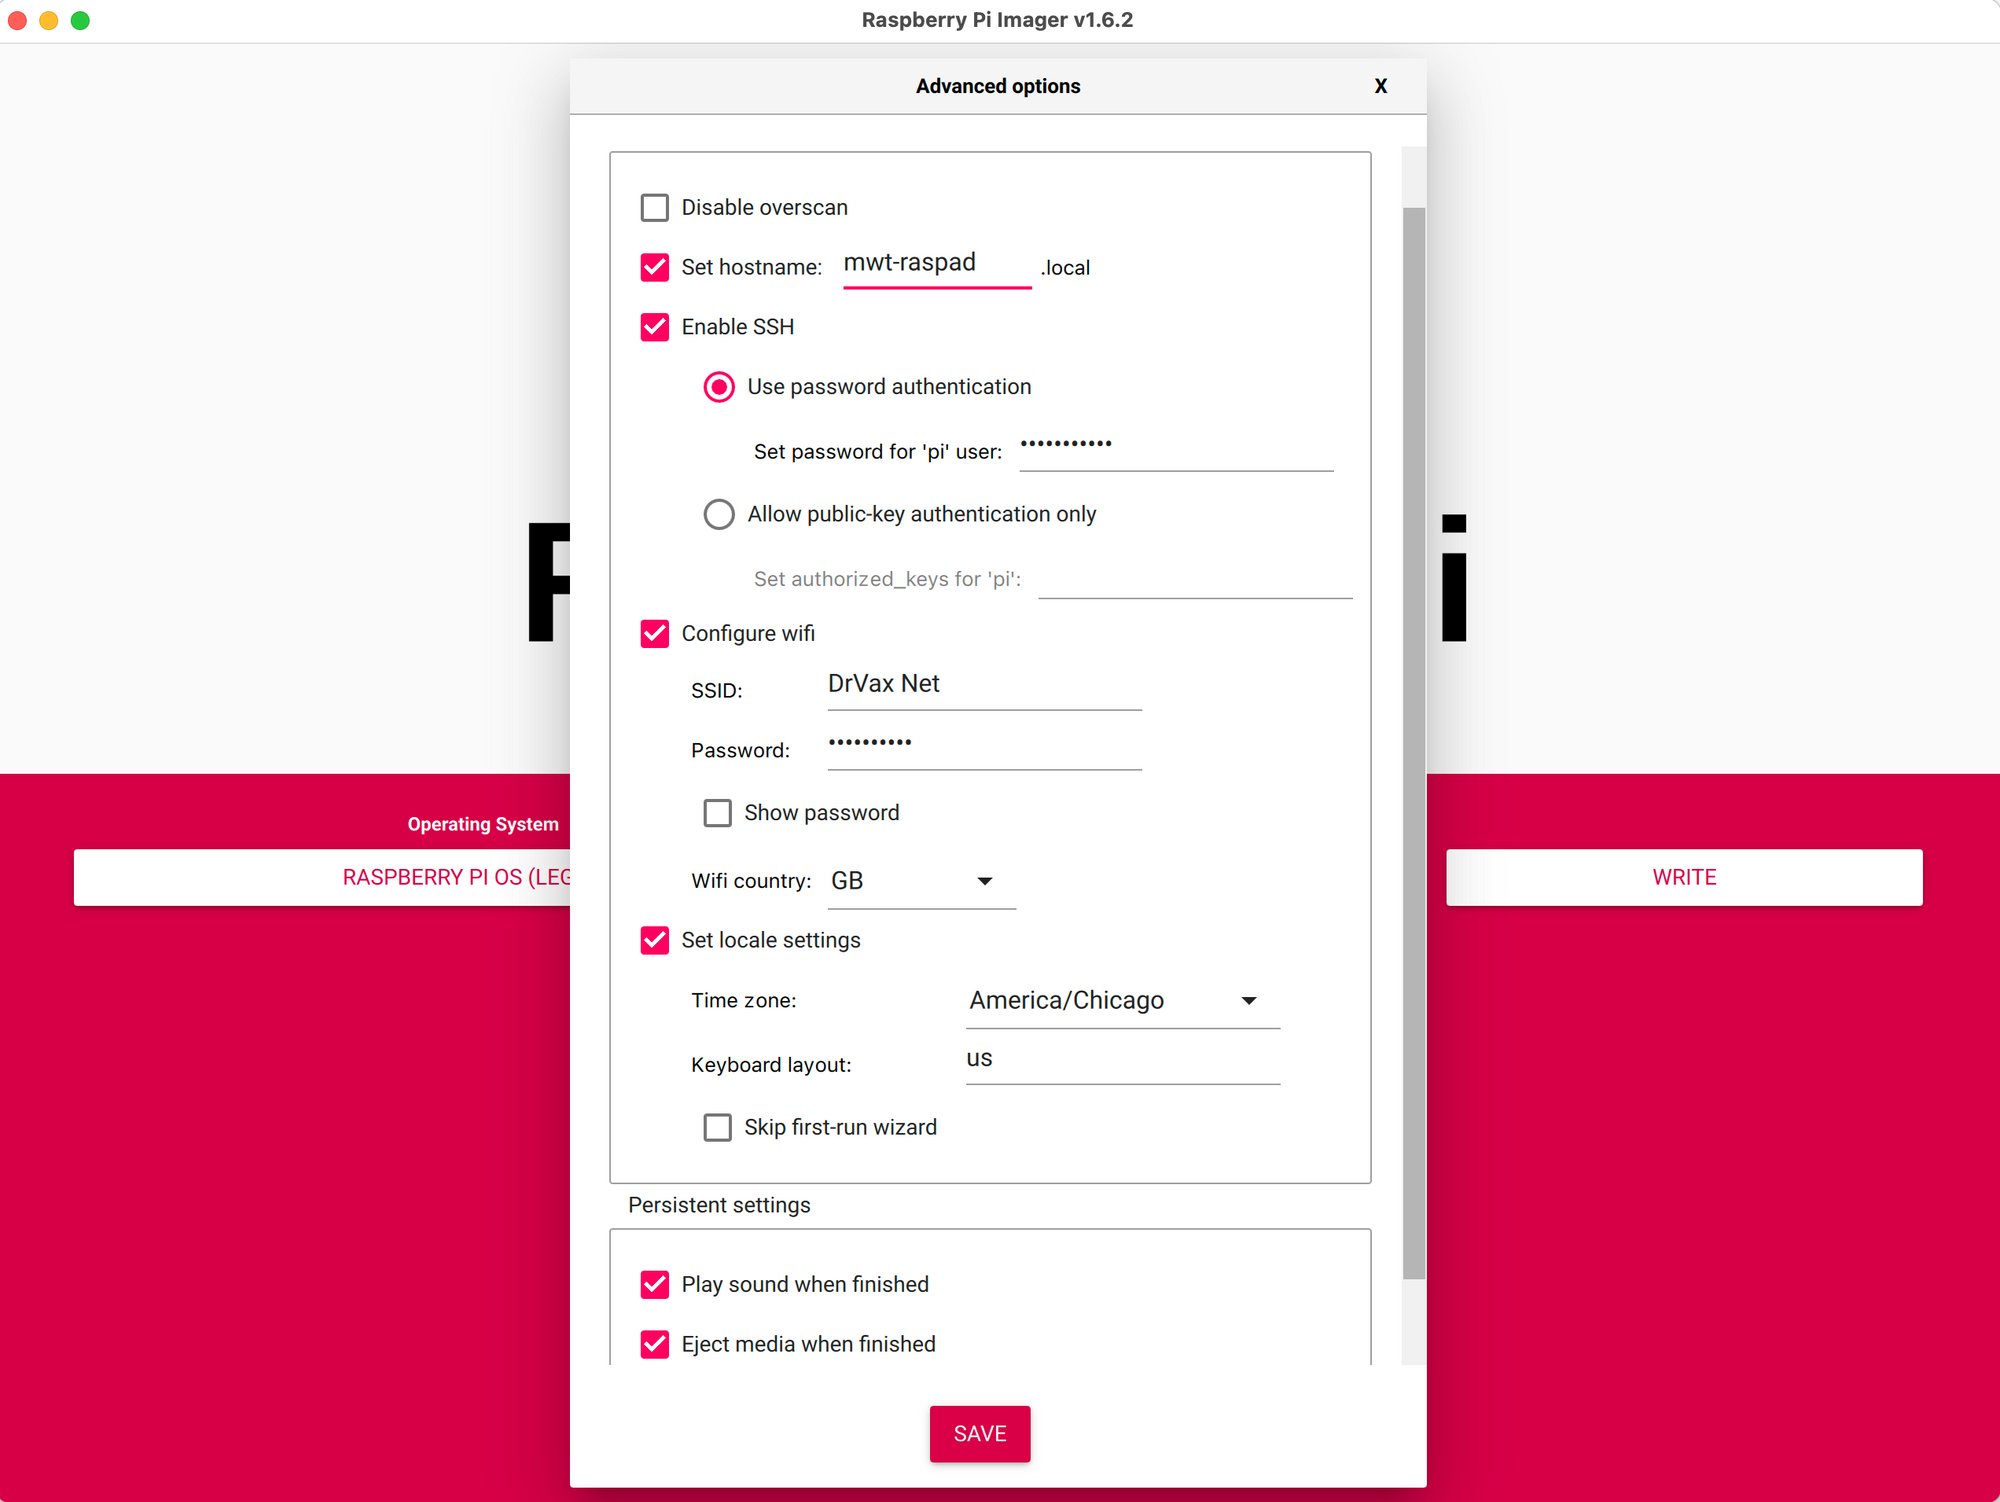
I recommend setting a unique hostname, enabling SSH, configuring wifi, and setting the location.
When you have double-checked your media one more time, click on WRITE.
Startup Up the Raspberry Pi First Time
Now place the SD card into the RaspPad with the power off. Make sure the RaspPad is plugged in if your batteries are low. Then turn on the power by pressing the power button until the small red light, next to the green battery indicator lights, comes on. In a few seconds, not instantly, you will get a message saying:
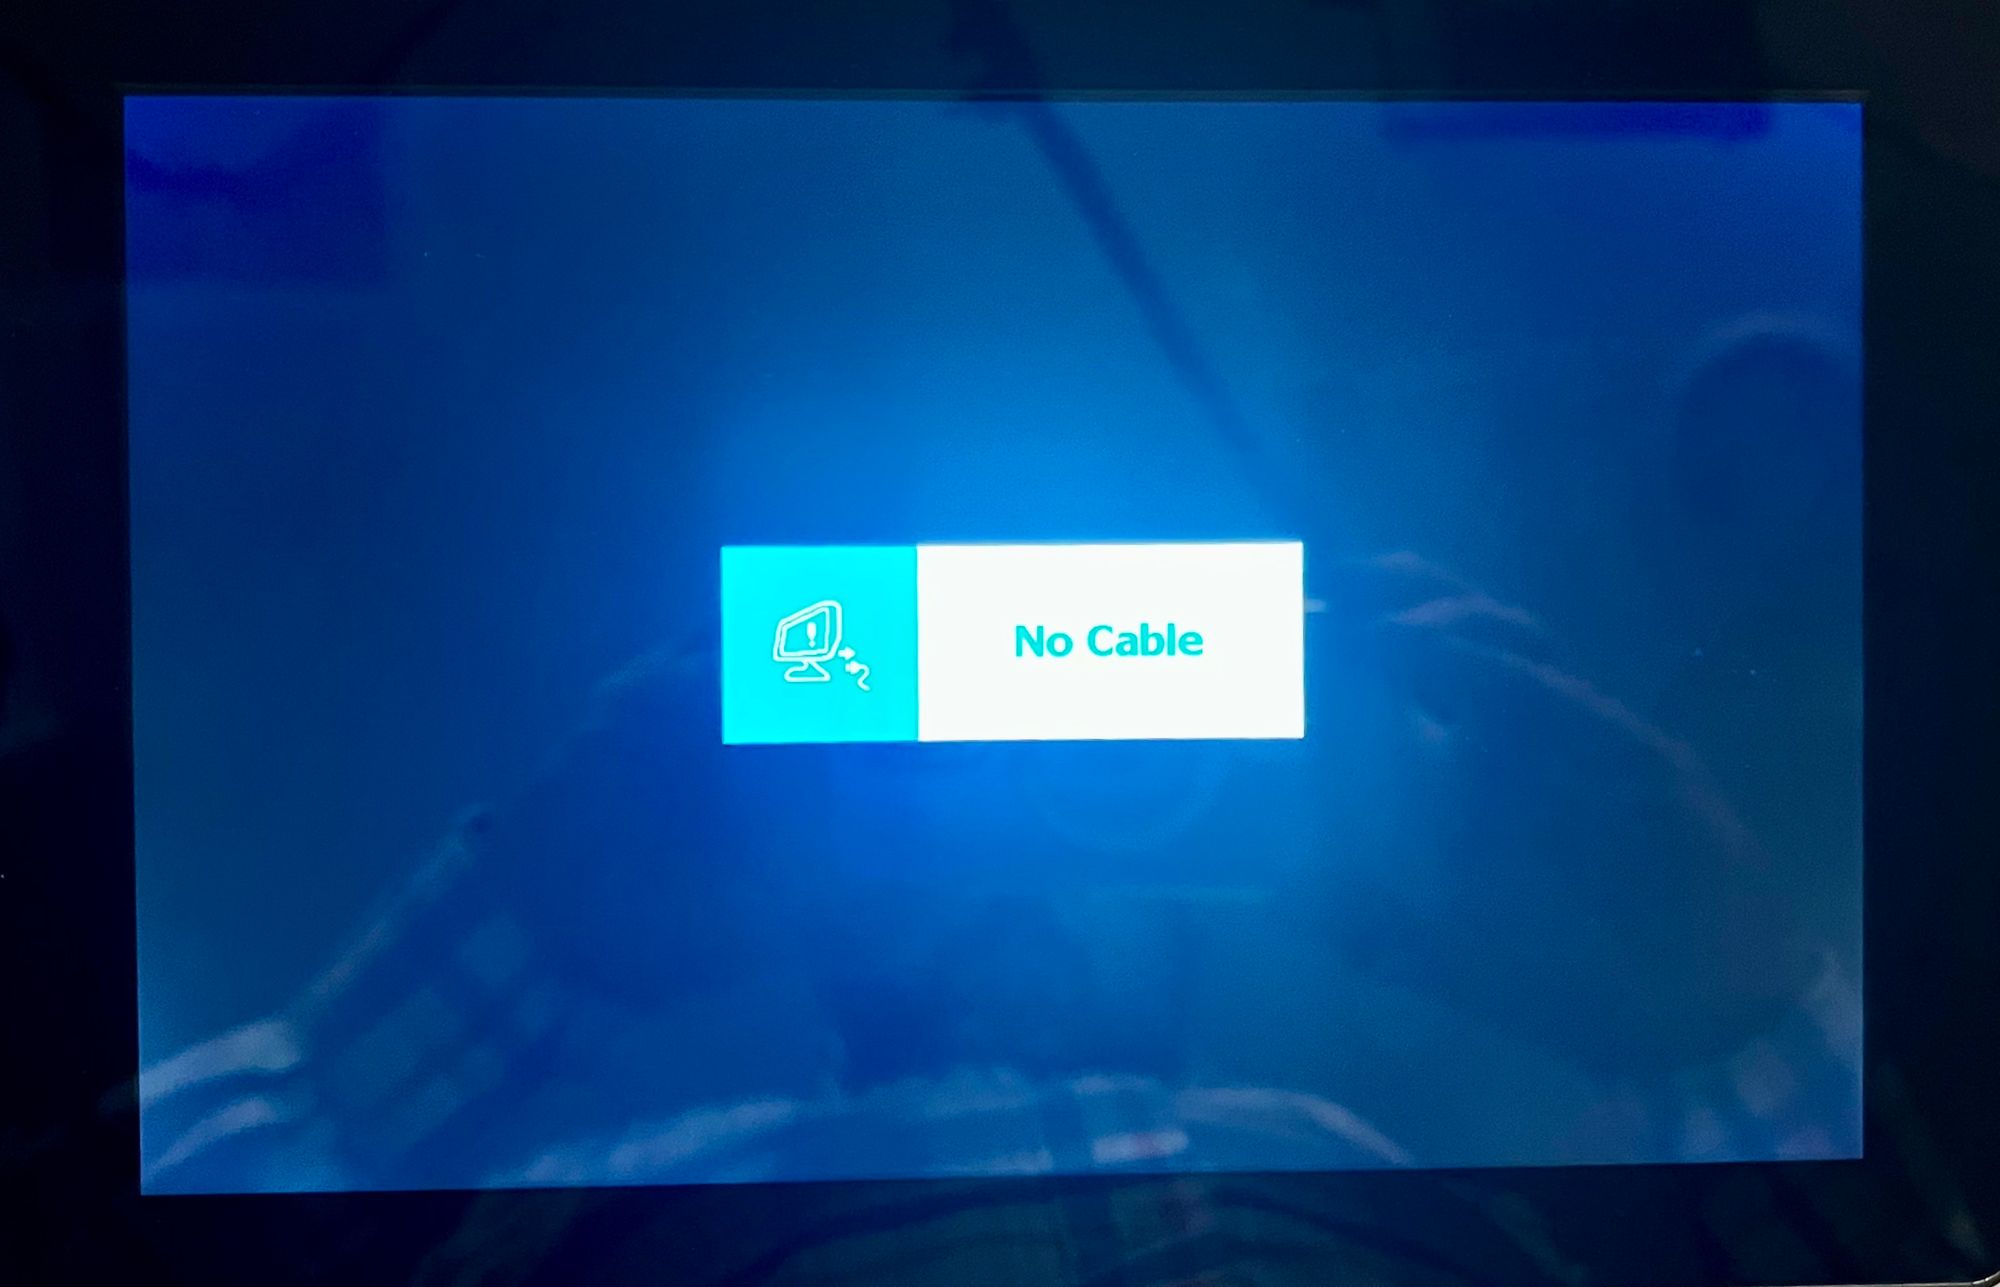
Ignore this message. The first time I saw this, I turned the machine off, opened it up, and rechecked the HDMI cable. Nothing was wrong. This message displays every time the machine boots and goes away in 2 to 3 seconds.
Now plug in your USB keyboard and mouse.
The RasPad 3 documentation recommends installing a virtual keyboard, right-click emulator, and rotation software.
Here are the commands your will need for the virtual keyboard and screen rotation software. While the details are in the RasPad 3 documentation, I will provide abbreviated instructions. All of the commands shown are typed into the Raspberry Pi terminal window.
Install the Virtual Keyboard
sudo apt install onboard -y
sudo apt install at-spi2-core
Configure the virtual keyboard settings under "Preferences -> Onboard Settings." Then to enable the keyboard, select "Universal Access -> Onboard" from the Raspberry Pi Menu.
Install the Rotations Software
git clone https://github.com/raspad-tablet/raspad-auto-rotator
cd raspad-auto-rotator
sudo python3 install.py
Reboot your RasPad and try rotating the screen. Instructions for calibrating the rotation are in the RasPad 3 documentation.
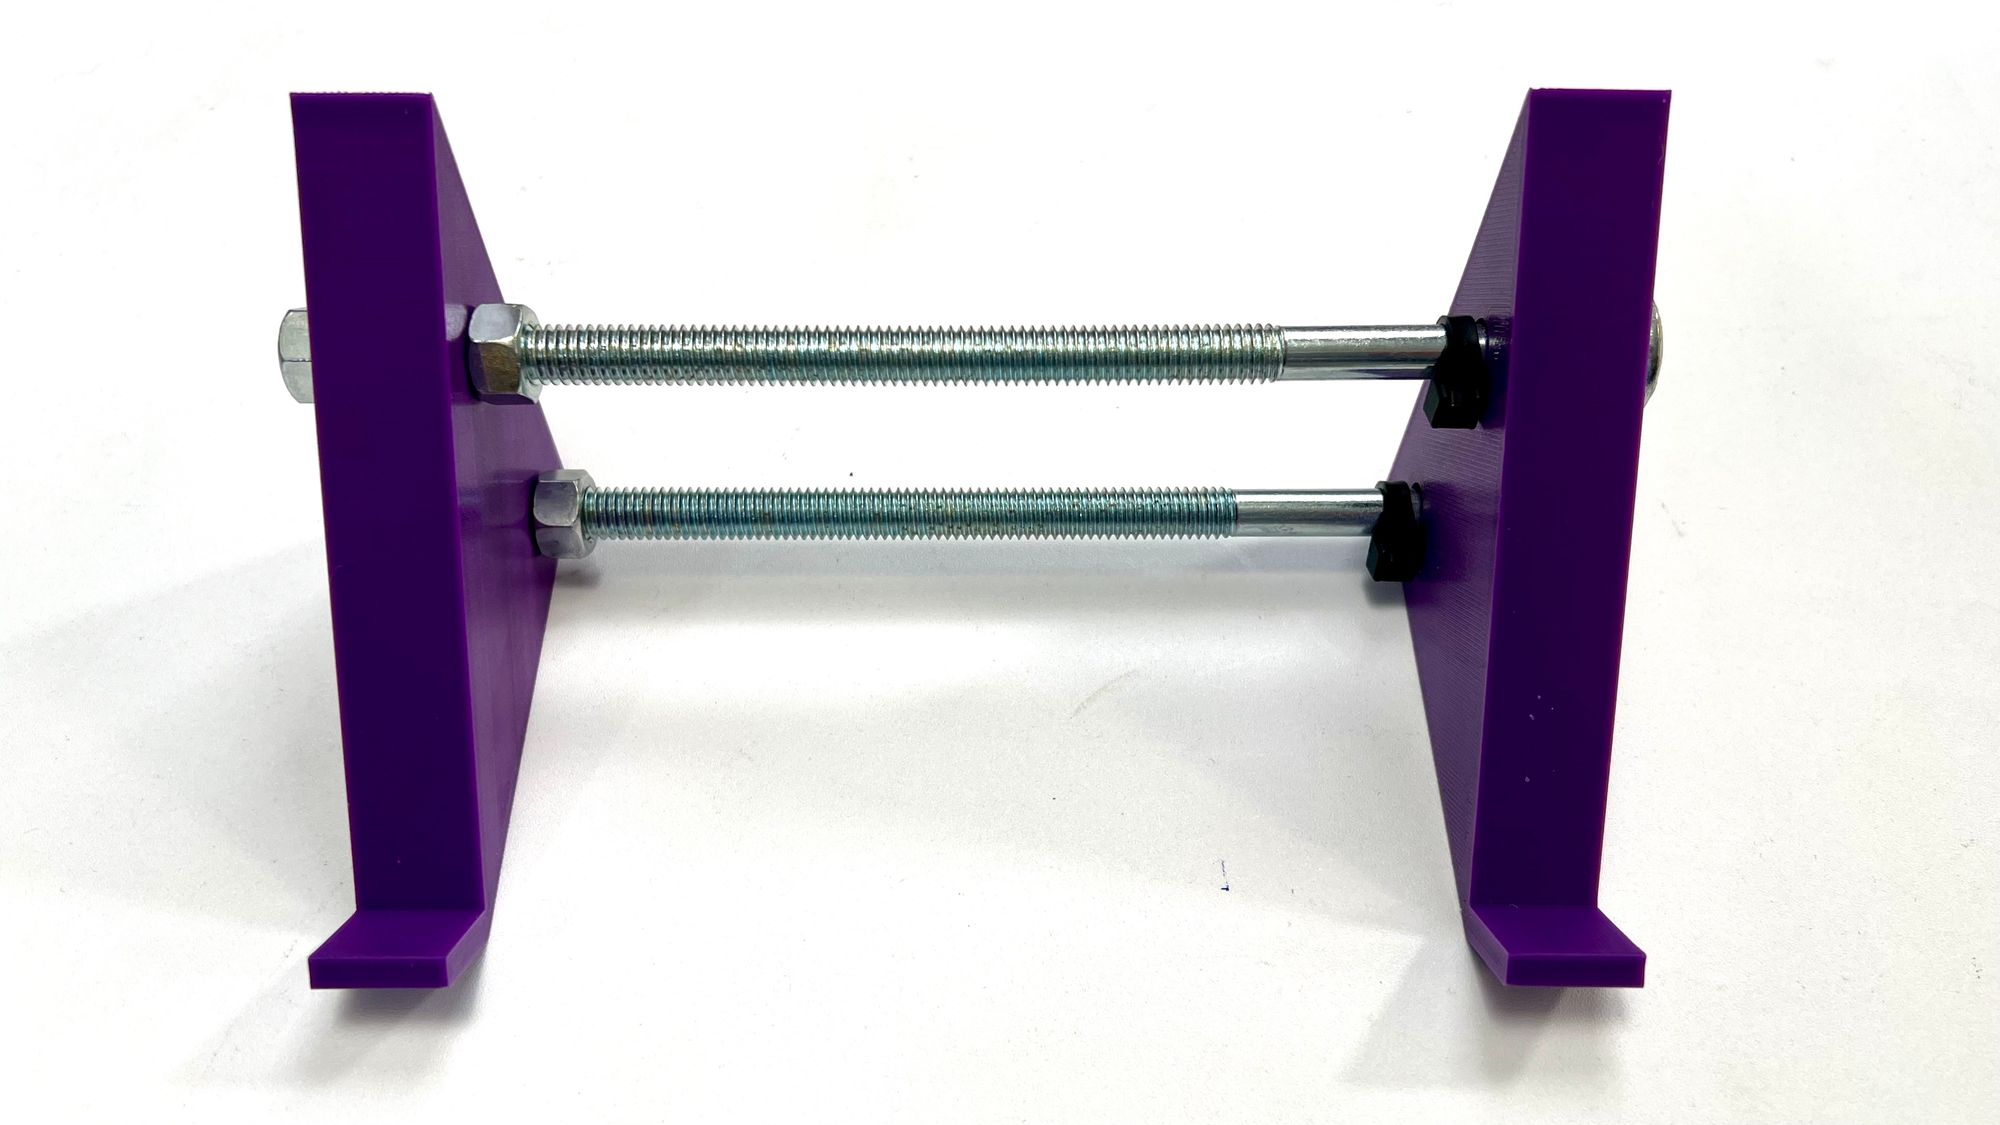
Here is my setup. You will notice I put the RasPad on a stand as I found this angle easier to use while installing and testing software.
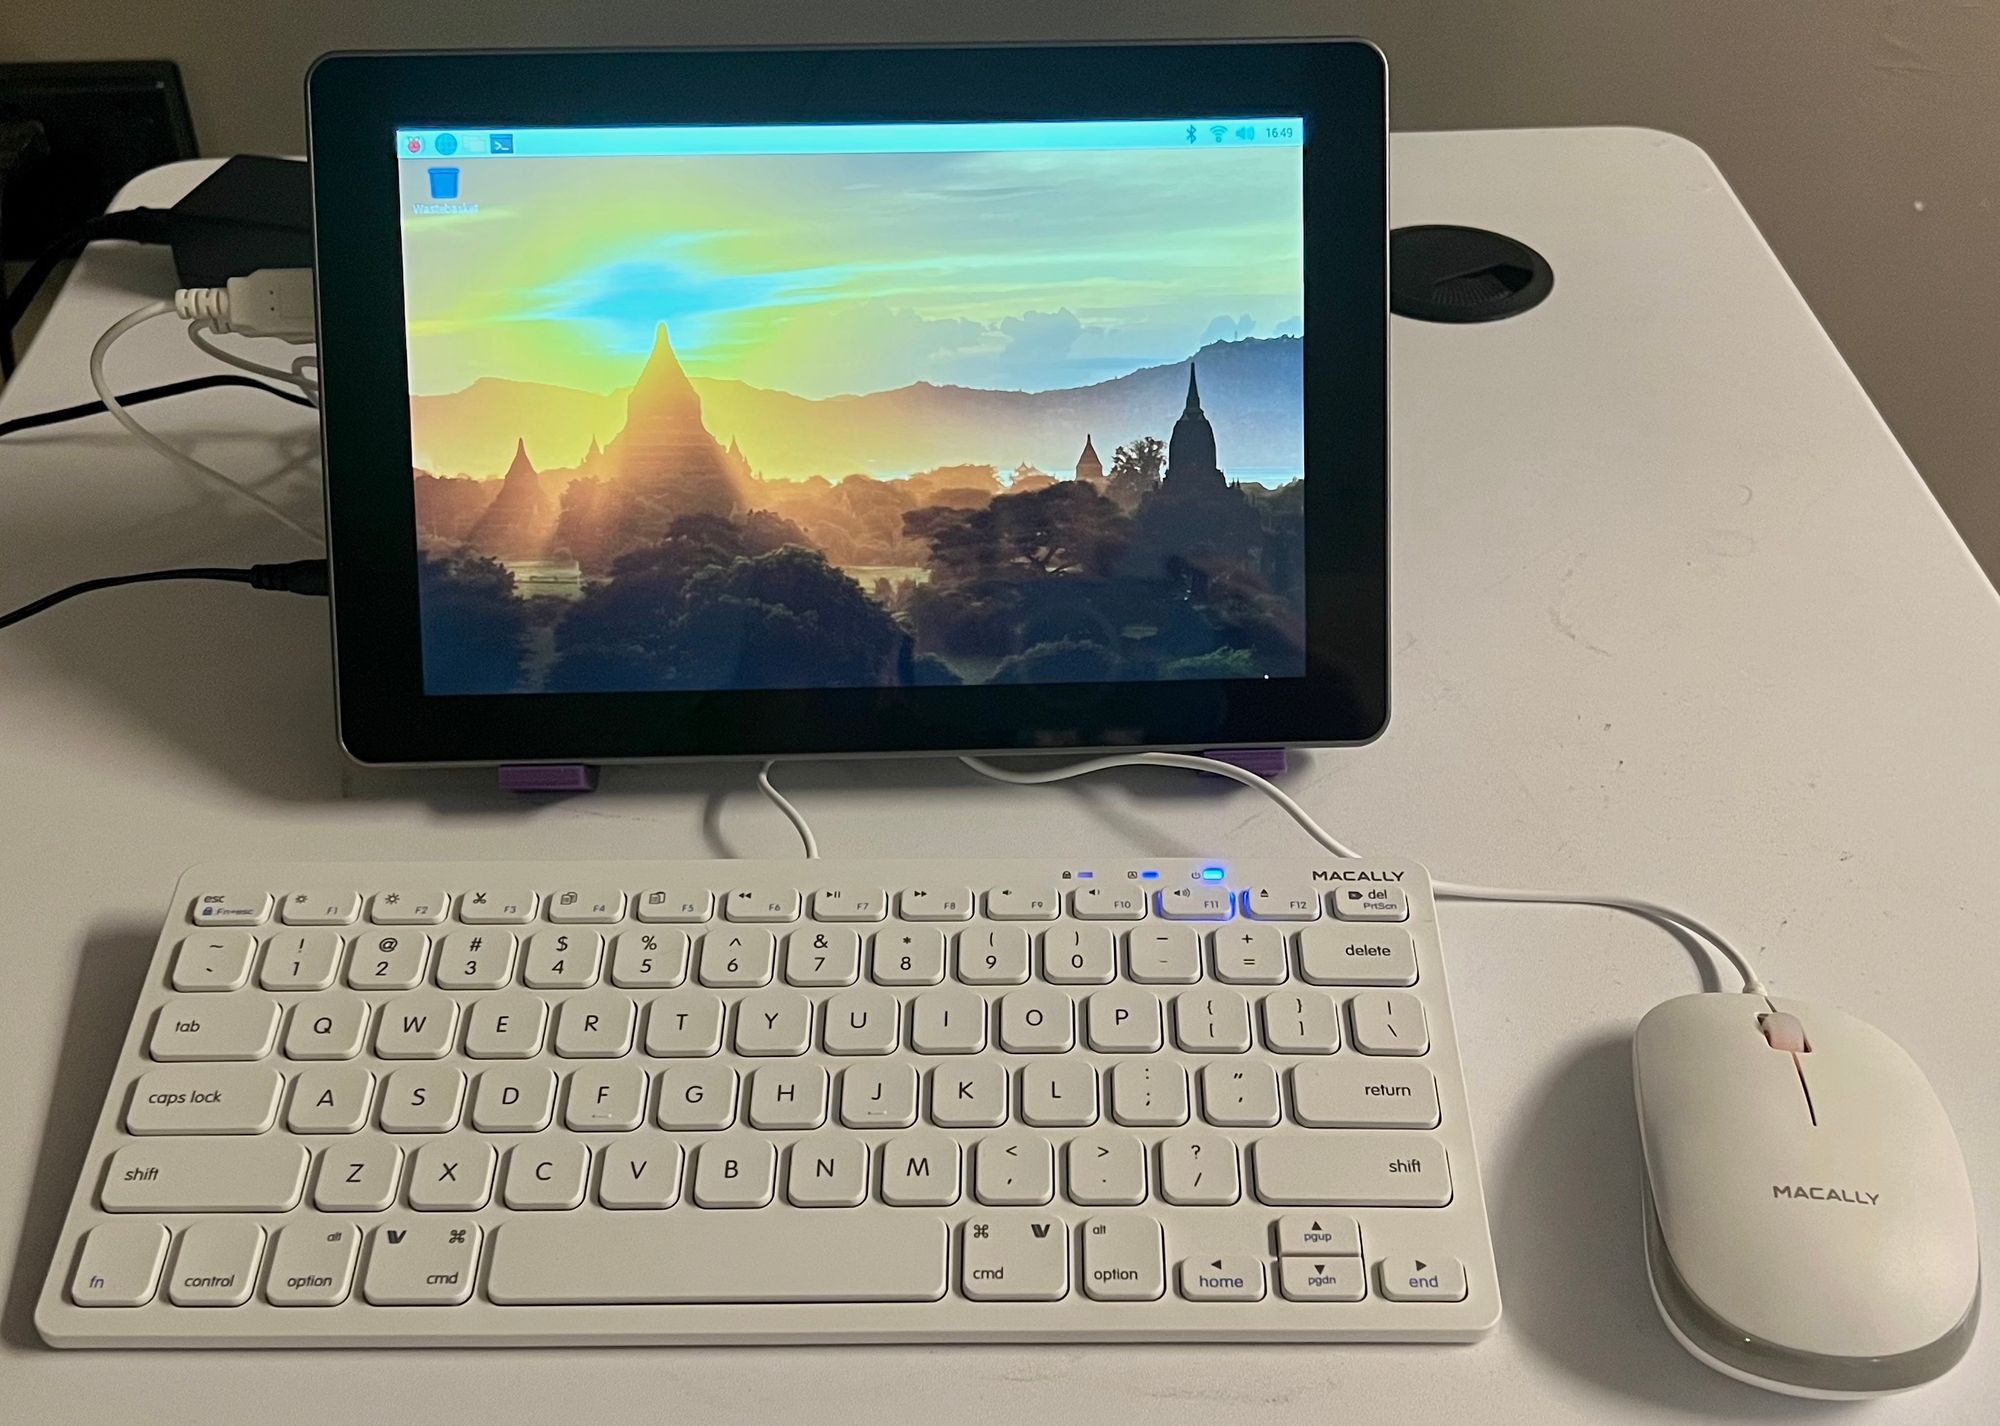
I 3d printed the stand for the RasPad since the angle when sitting flat works well as a "laptop" but not when using it as a desktop monitor. Sitting on the wide bottom edge works well when placed on a shelf but is too vertical for my desk.
The next step is to set up one or more cameras.
ReoLink E1 Pro Installation
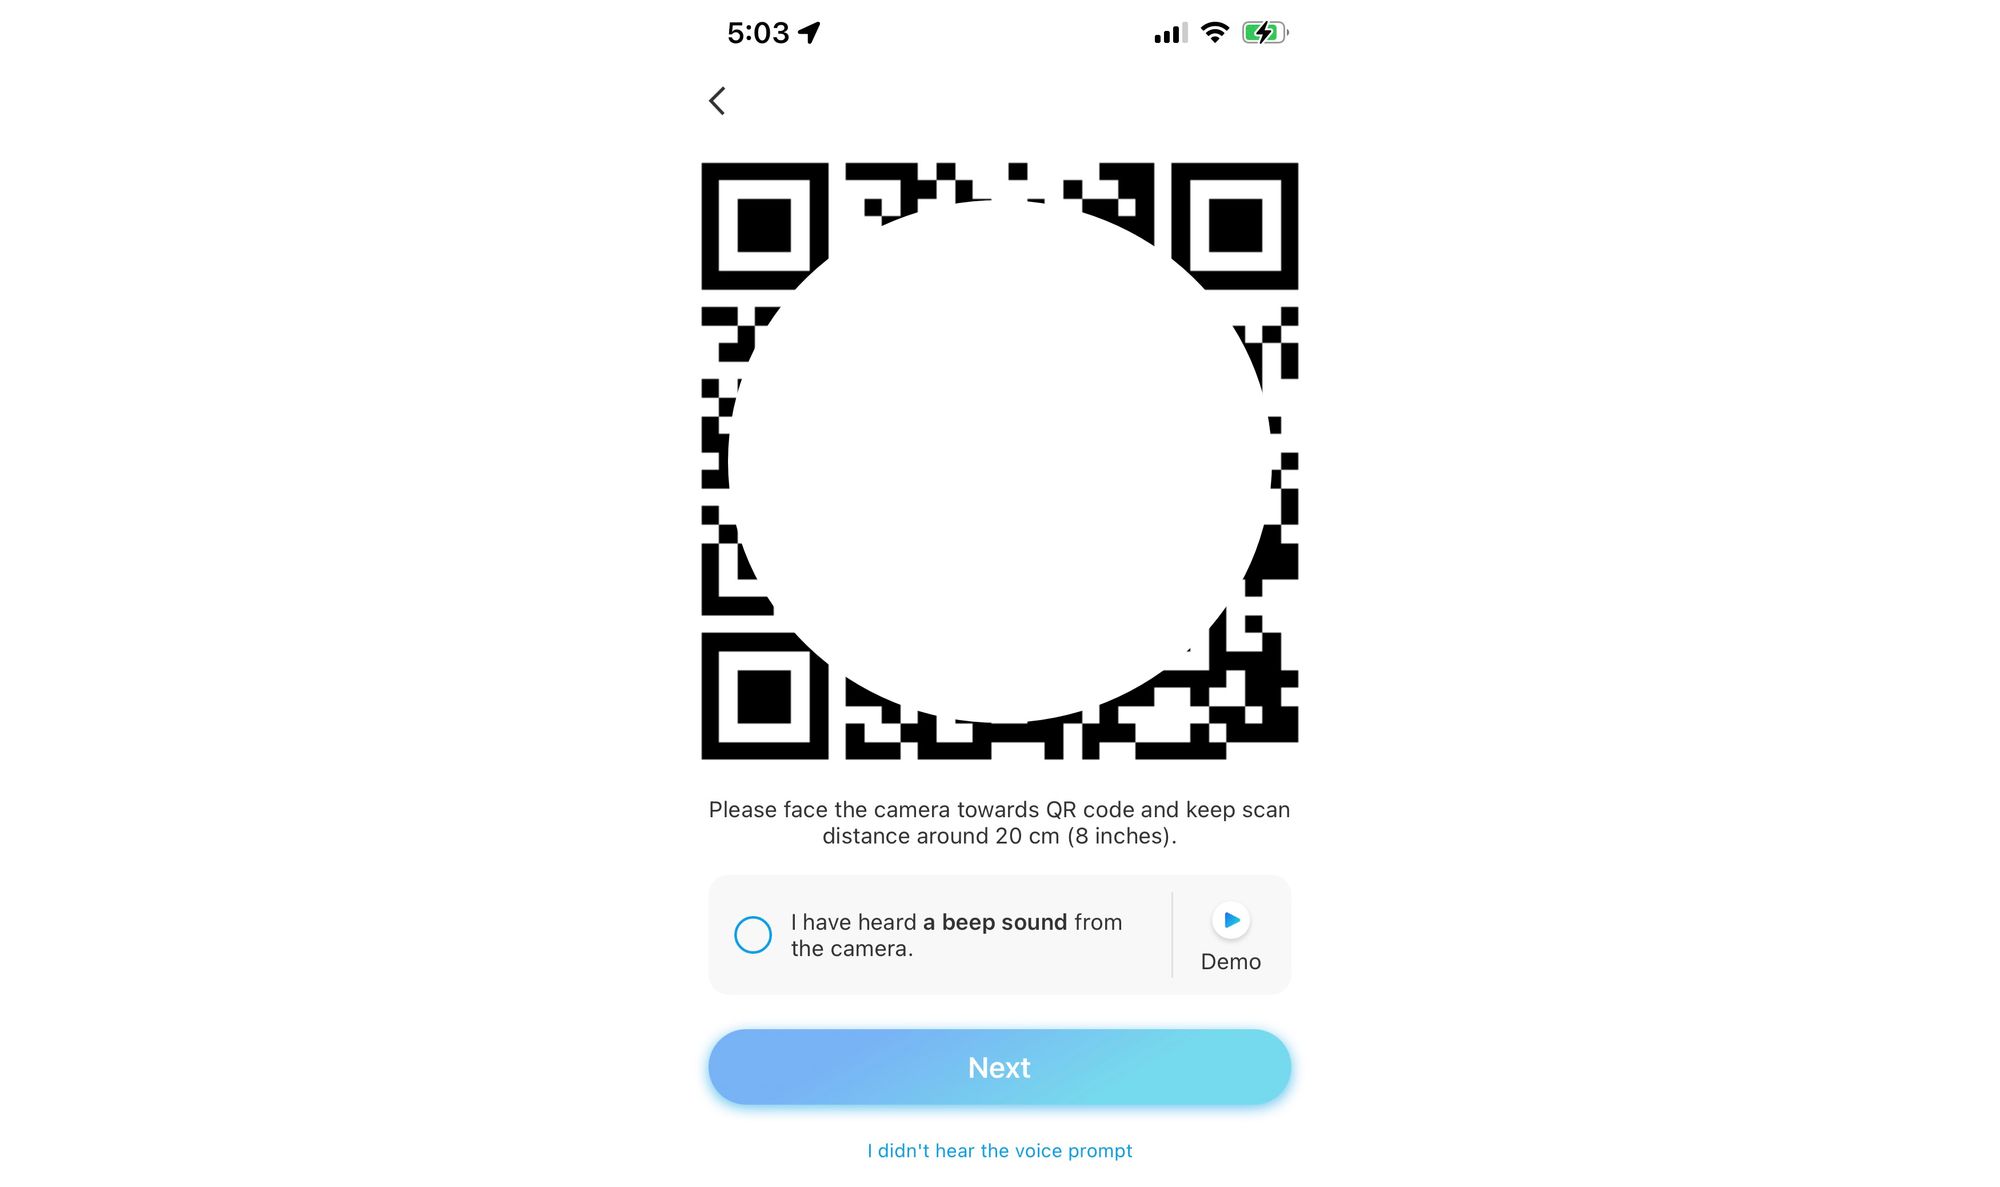
We need to add the ReoLink camera to our network via wifi or a hard-wired link. The Reolink APP supports the installation steps necessary. First, install the app on your smartphone and follow the instructions to add a camera. I found the installation process quite enjoyable. First, the APP asks for your wifi credentials and then displays a QR code on the screen. Next, you show the QR code to the camera to use your provided connection information.
One of the differences between the E1 model and the E1 Pro is the support of ONVIF standards and the RTSP protocol. All ReoLink cameras support a highly optimal low latency and low lag proprietary protocol in their apps. The RTSP open source protocol is a much higher lag but allows us to connect to the camera with various software solutions. In my tests, the lag between the live image and the image we see is 5-12 seconds, both on a Windows machine and the Raspberry Pi 4. For recordings, this is no issue. It will depend on your application for live monitoring if this is an issue.
Obtaining the Camera IP address
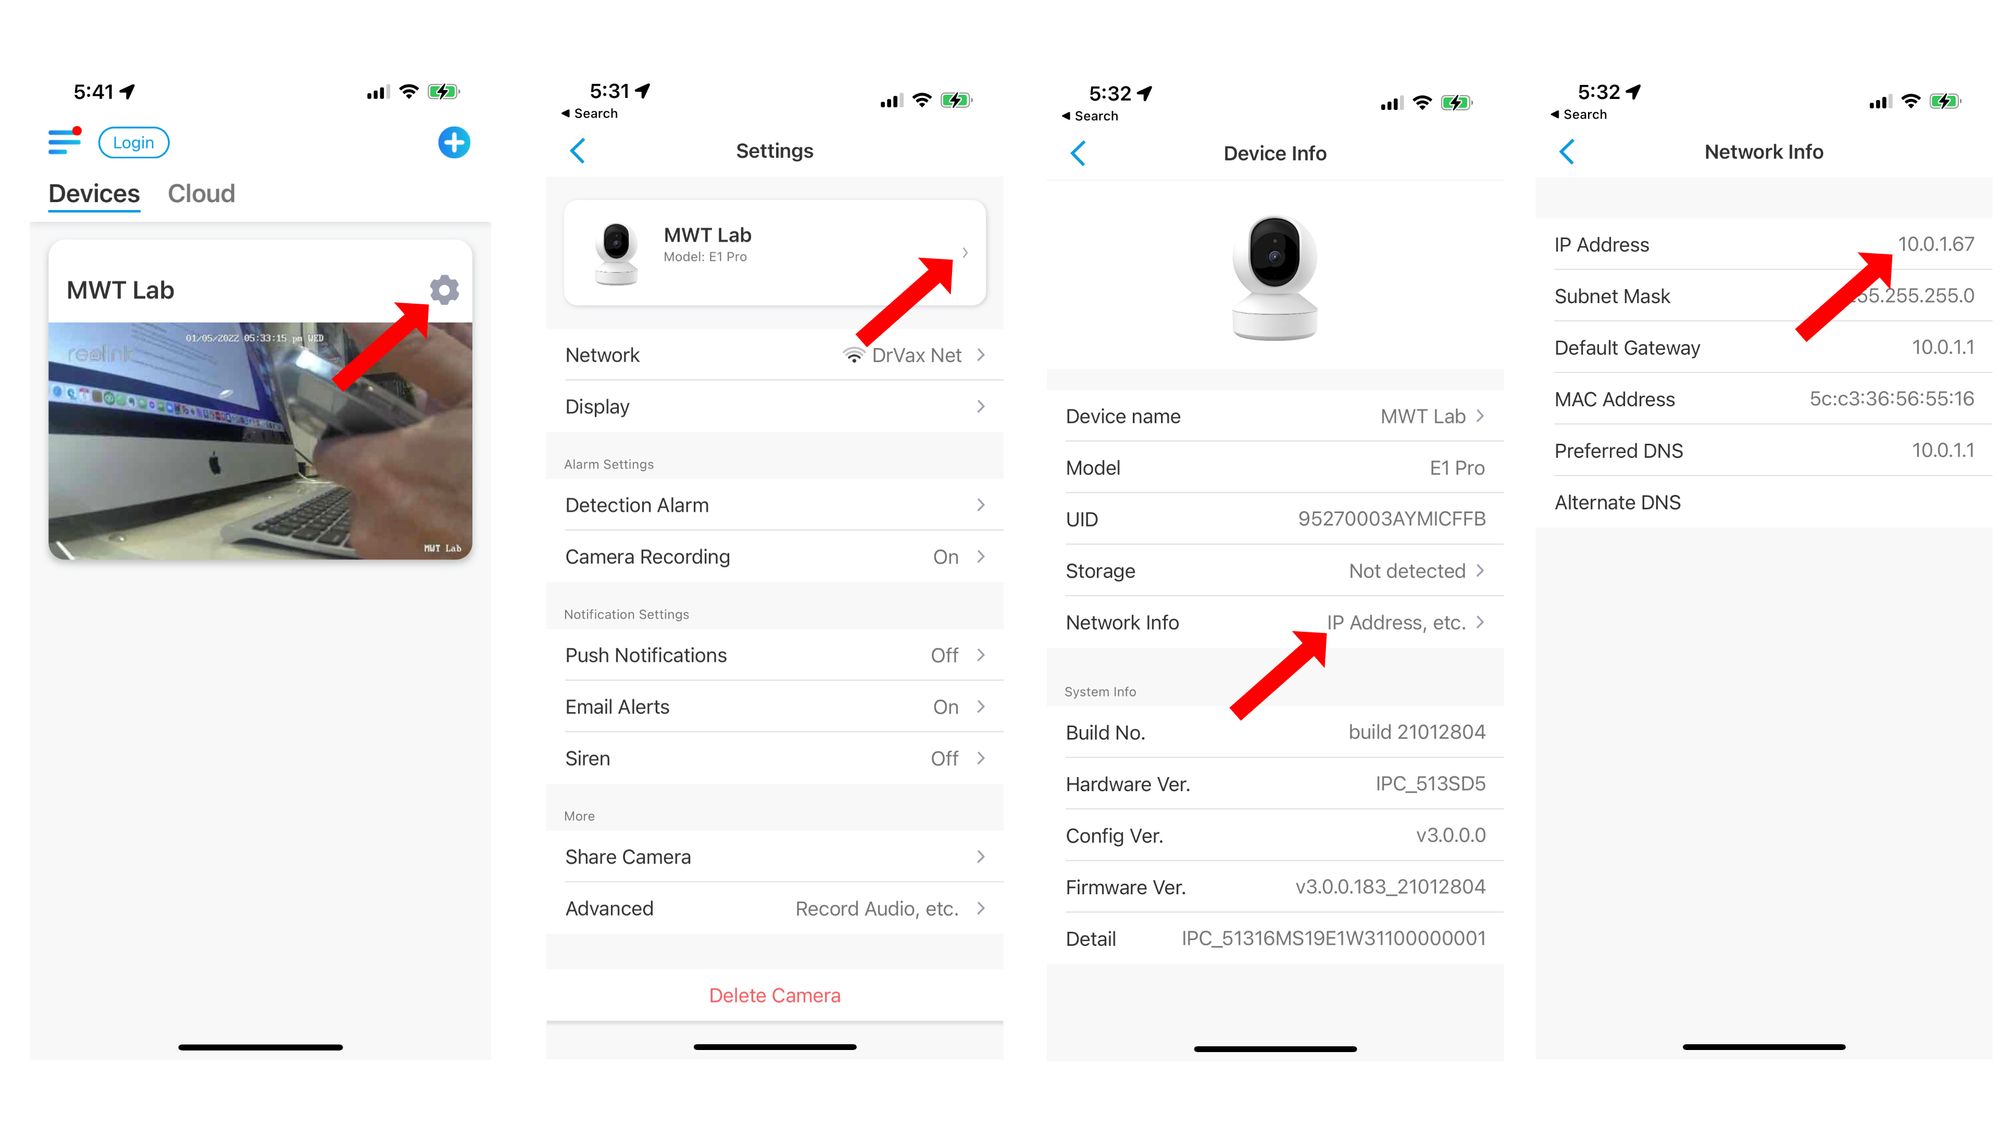
To obtain the IP address of your camera, start the APP and click on the gear next to the camera. Then click on the > next to the camera name. Then click on "IP Address, etc. >." The IP address is shown on the Network Info page. You will need this address for the next step.
Testing the RTSP Feed
FFMPEG is an open-source application for Linux (UNIX) systems that supports video format conversions, viewing video files, and displaying real-time feeds. For example, the format of the URL for accessing the Reolink E1 Pro video feed is:
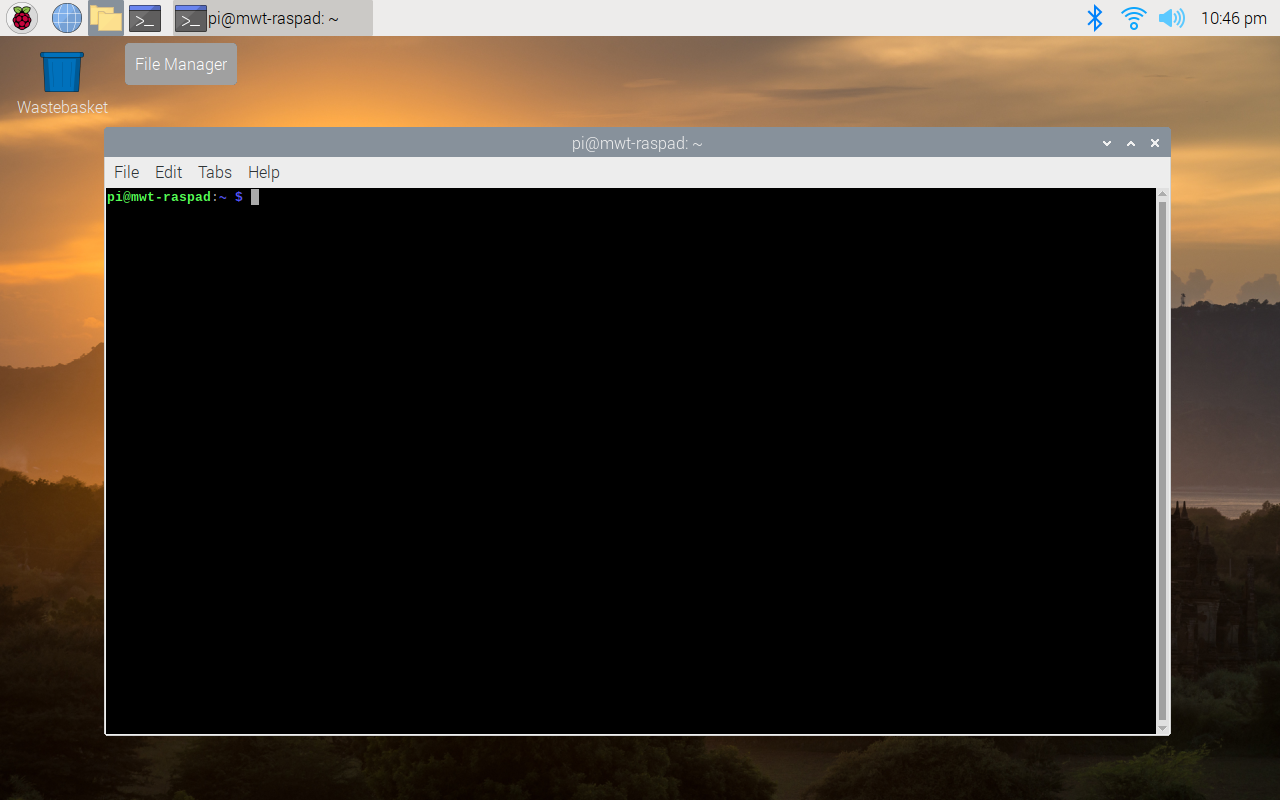
rtsp://admin:password@ip_address:554//h264Preview_01_mainSubstitute the password you provided during the E1 Pro installation and the device's IP address in the above link. To display the video from your camera on your Raspberry Pi, open a terminal. You open a terminal window by clicking on the icon of a terminal in the top icon bar.
Then enter the following command in the terminal:
ffplay rtsp://admin:password@10.0.1.67:554//h264Preview_01_main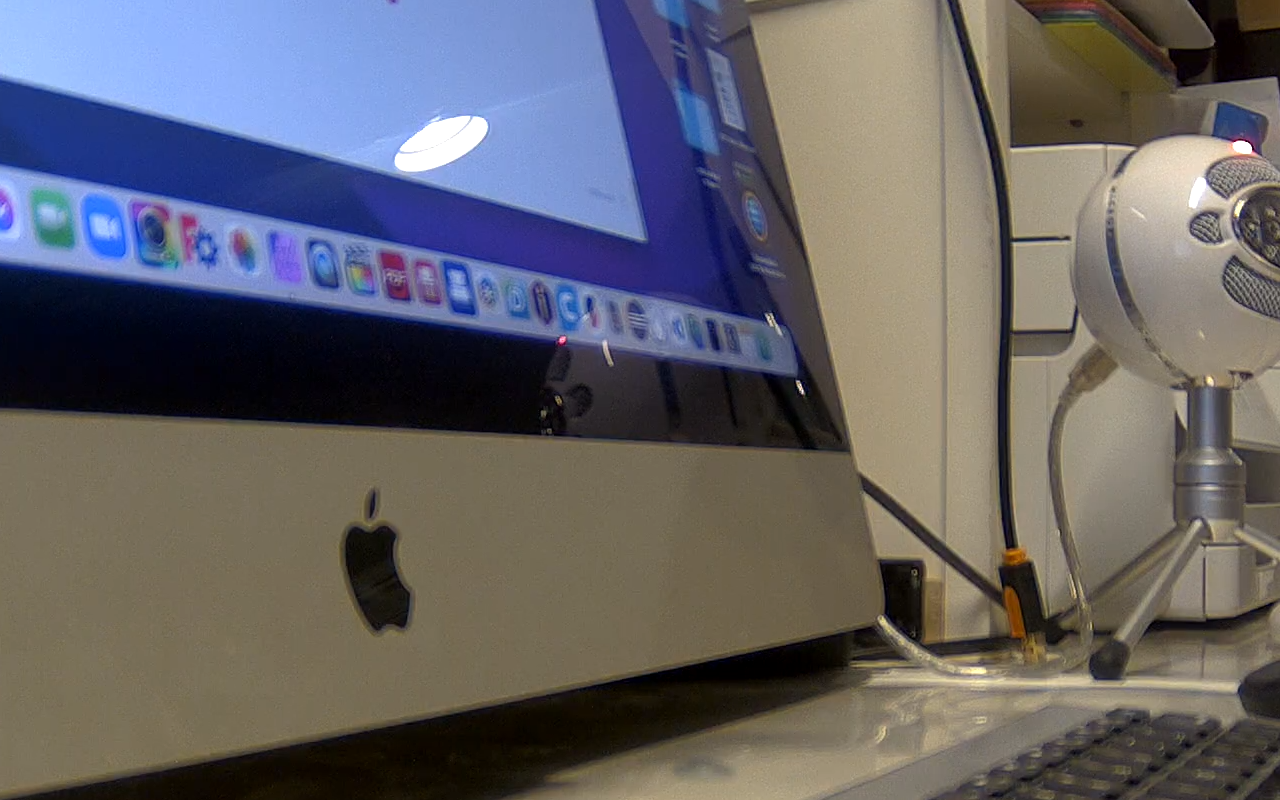
The ReoLink camera provides both a high-resolution feed, the above feed, and a smaller low-resolution feed. For example, if you substitute the _main in the RTSP URL with the word _sub, you will see the following.
ffplay rtsp://admin:password@10.0.1.67:554//h264Preview_01_sub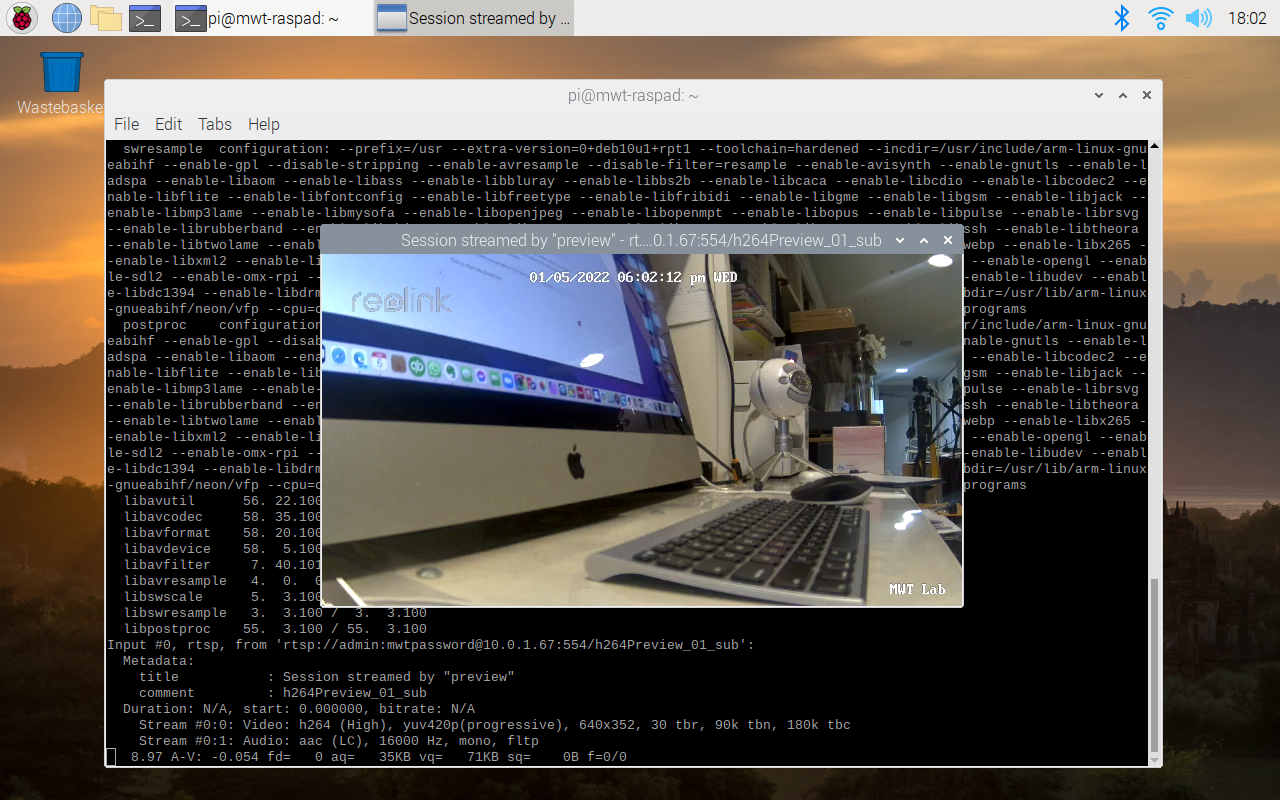
All Done, Not Yet
All you want is to watch a single camera feed. This is all you need. Your RasPad 3 is battery-operated, so disconnect the keyboard and mouse, unplug the power, and go for a walk. Maybe you are going into a meeting and want to watch the loading dock at your business or the front lobby or door.
You can use your Linux skills to automatically start this command when you turn on your RasPad or even create an icon on the desktop. But why stop here? Next, install the Shinobi Open Source CCTV application on a Raspberry Pi to watch multiple cameras easily and record videos streams.
Installing Shinobi
The installation requires access to restricted directories on your Raspberry Pi. You use the "sudo su" command to switch your terminal session into "super user" mode. Enter the following commands to install Shinobi:
sudo su
sh <(curl -s https://gitlab.com/Shinobi-Systems/Shinobi-Installer/raw/master/shinobi-install.sh)
The above curl command is entered on a single line. Then, answer the following prompts as specified.
... development branch? N
... Select your OS? 2 - ubunto - advanced
... disable IP6? y
... install MariaDB? y
... password for root sql user? anything but no spaces
... Shinobi database installation? y
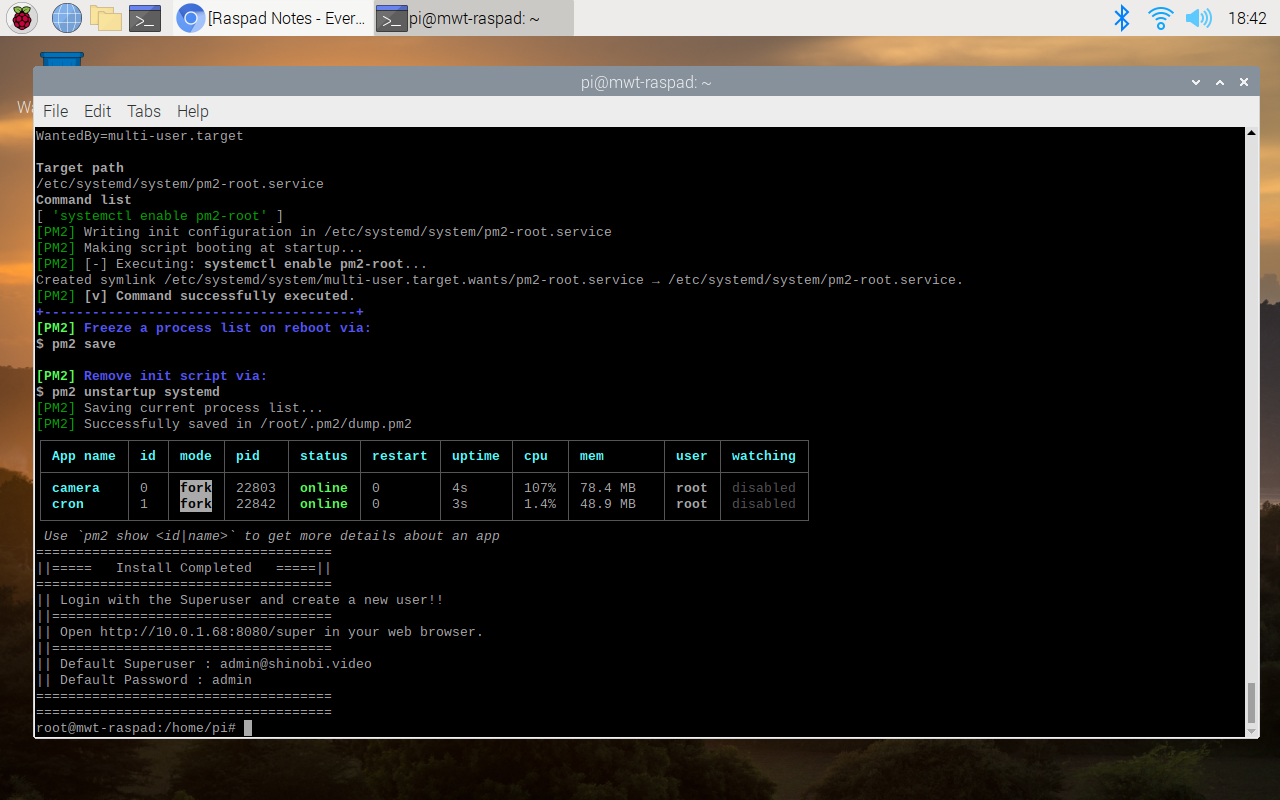
... Start Shinobi and set to run on boot: yThen get a cup of tea as the installation will take a while.
When the installation completes, you will see the following.
You Access Shinobi From a Browser
Open Chrome (the icon in the top bar that looks like a world) and enter the following URL:
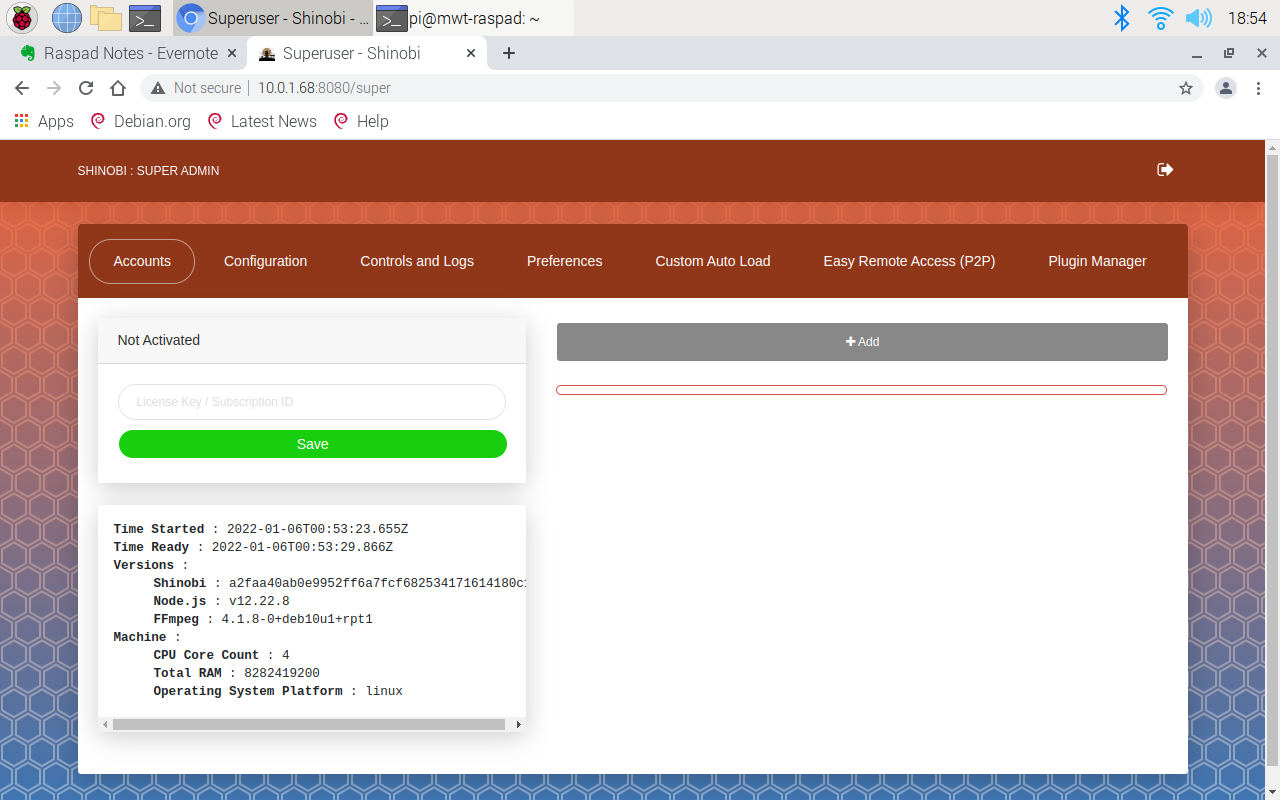
http://10.0.1.68:8080/superSubstitute your IP address and ensure you have the /super on the end of the URL. If you do not, you will go into the user login screen, and the Shinobi admin username/password will not work.
Enter admin@shinobi.video as the username and admin as the password. You should see this screen.
Click on "+Add" and add a new user. You only need to complete the email and password (2 times) fields. Then click on save.
Now exit the admin screen by clicking on the => in the right corner of the screen and return to the same address without the /super. You will see another login screen. Login using the credentials you just defined for your first user.
Camera feeds are displayed on "monitors" in the Shinobi application. To add a camera, you define a monitor.
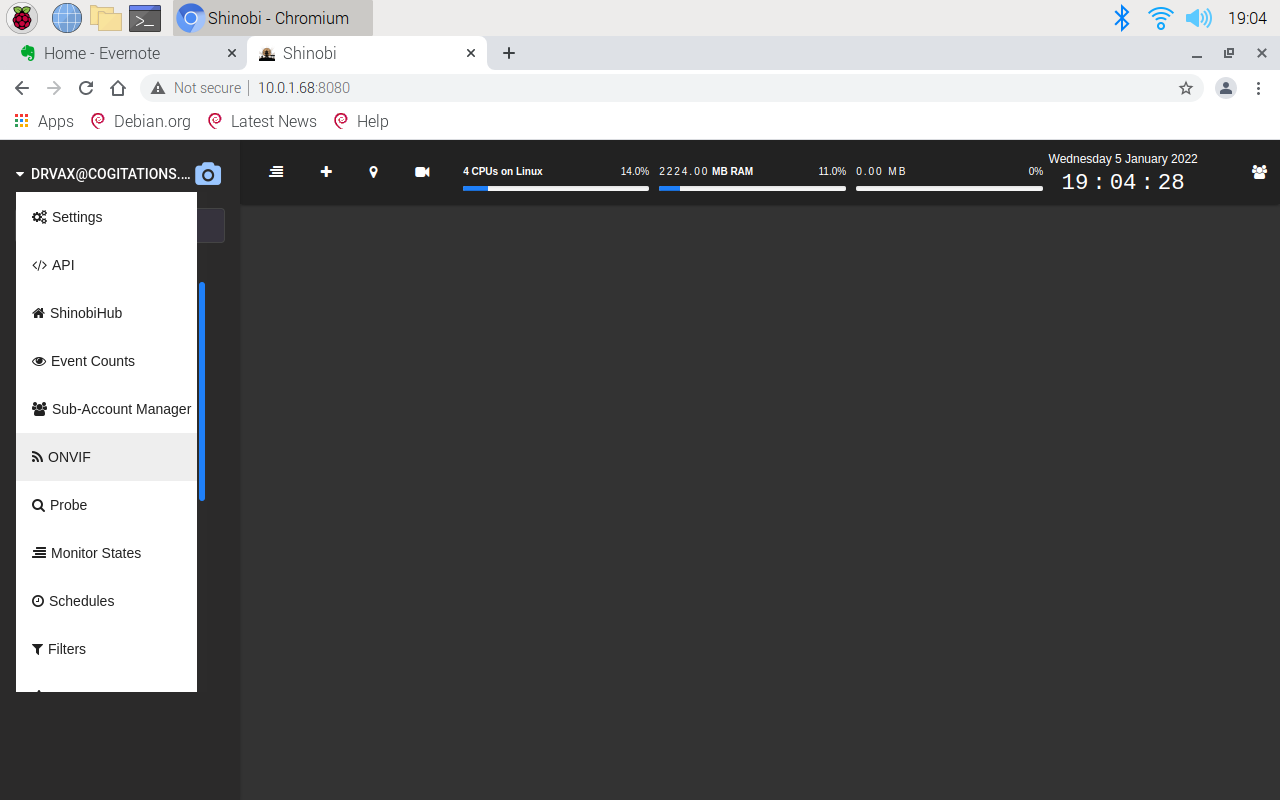
After you log into Shinobi, click on your login id, located on the top right-hand side of the website. Then, navigate down to ONVIF (Open Network Video Interface Forum). Included in the ONVIF standards is a process for discovering cameras.
On the ONVIF page, fill in "admin" for the username and the password you assigned to your camera during the installation. A few seconds after clicking "search," you will see several "found devices." When a camera matching the username and password you provided is found, the blue topped box will contain information about the camera.
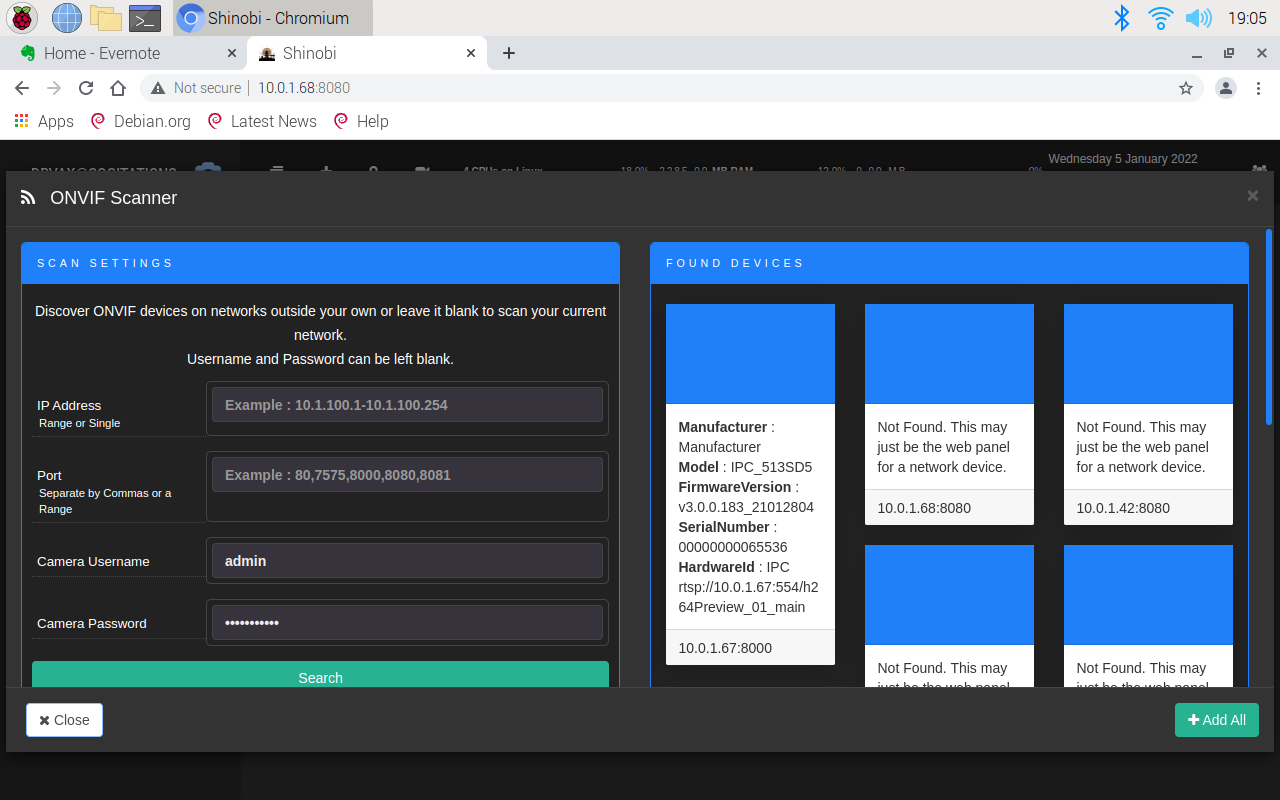
Click on the camera box one time, and then wait. It will take a few seconds for the scanner to load the appropriate information. Do not click a second time. When the information has loaded, you will see the following.
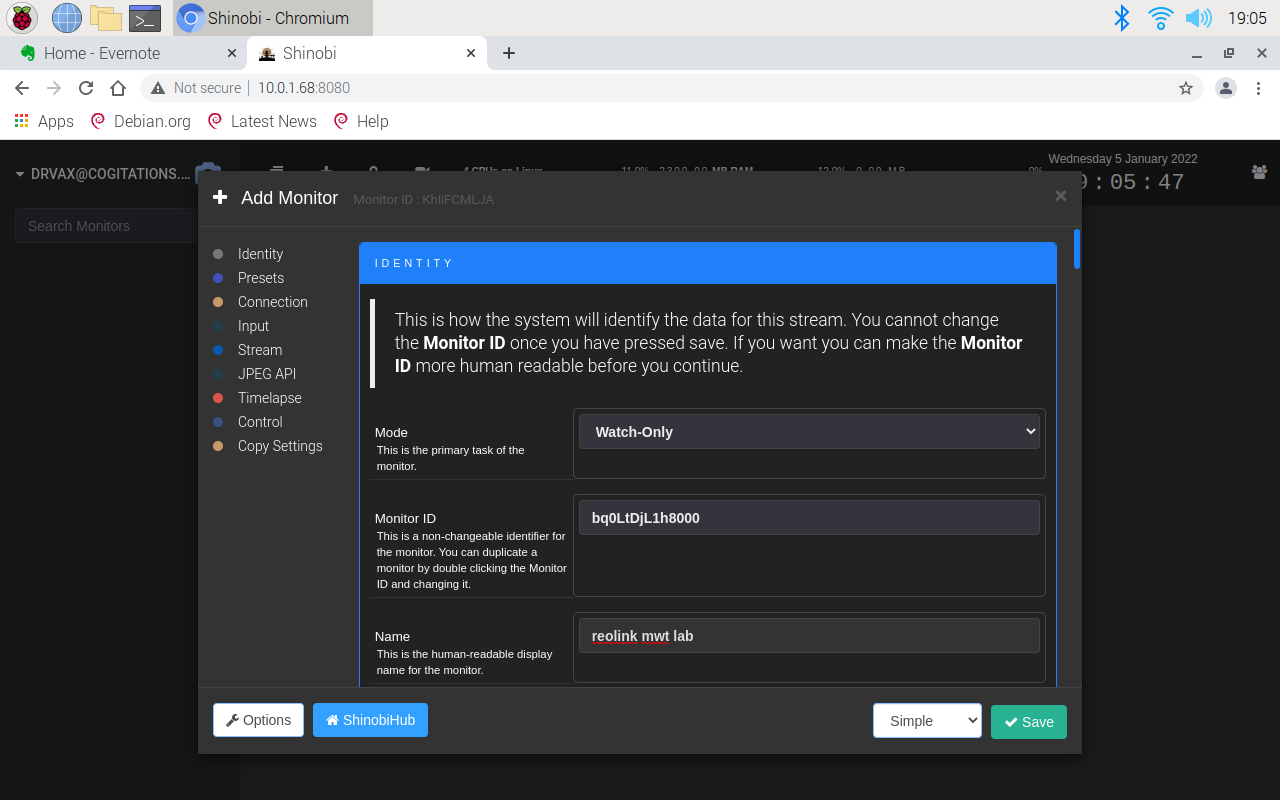
When the "Add Monitor" configuration setting is displayed, leave everything at the defaults except for the "Name" field. Then, fill in your preferred name for the camera.
You can repeat this step as needed until you define all of your cameras. For example, to display a camera in the main video area, move your mouse over an icon on the right until you see the pointer changes to a "pointer" that looks a bit like a hand. Then click once. It may take many seconds for the image to appear on the right side.
Unfortunately, you will see a 10-30 second lag between actions and display it on the monitor. This is due to a combination of limitations of the RTSP protocol and its implementation in the Reolink cameras. Higher-end cameras support RTMP, which has less lag but is not available on the E1 Pro.
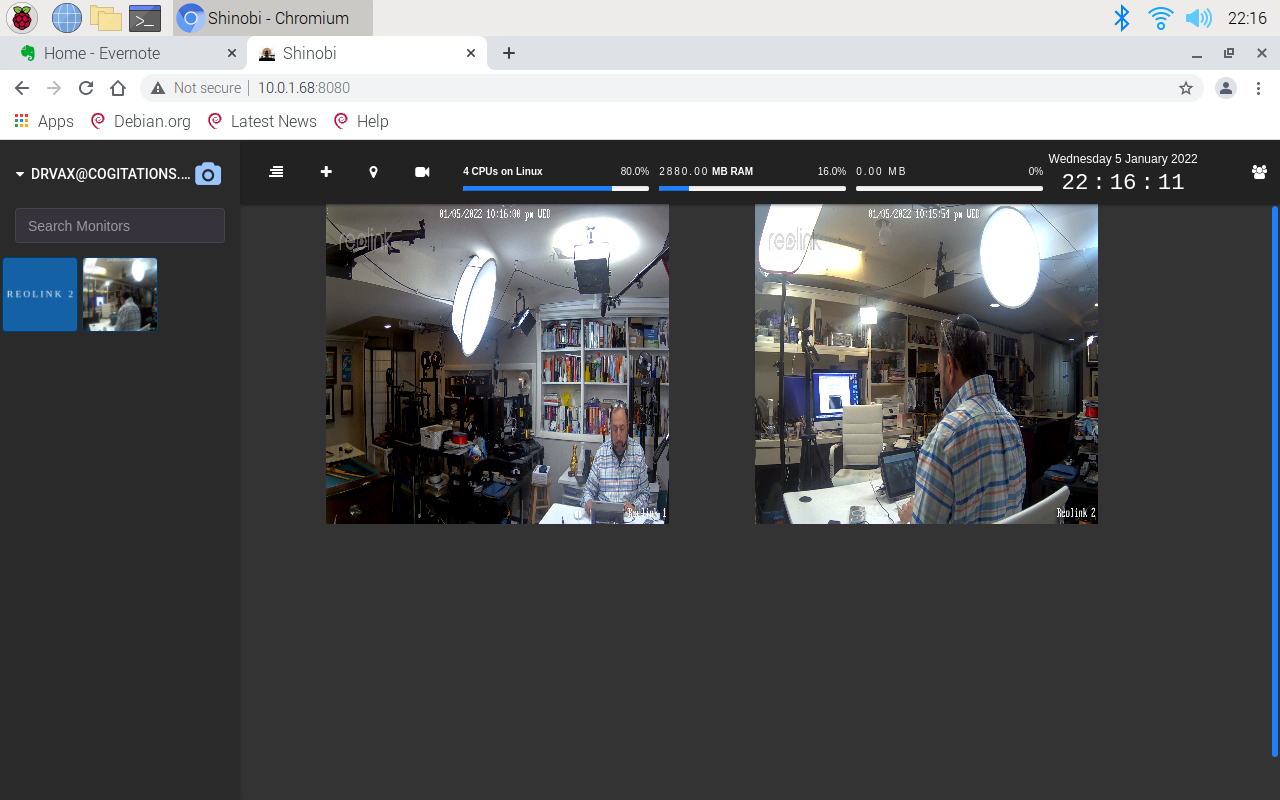
By clicking on your login name, you can select "Open all Monitors" to put all your cameras on the main screen.
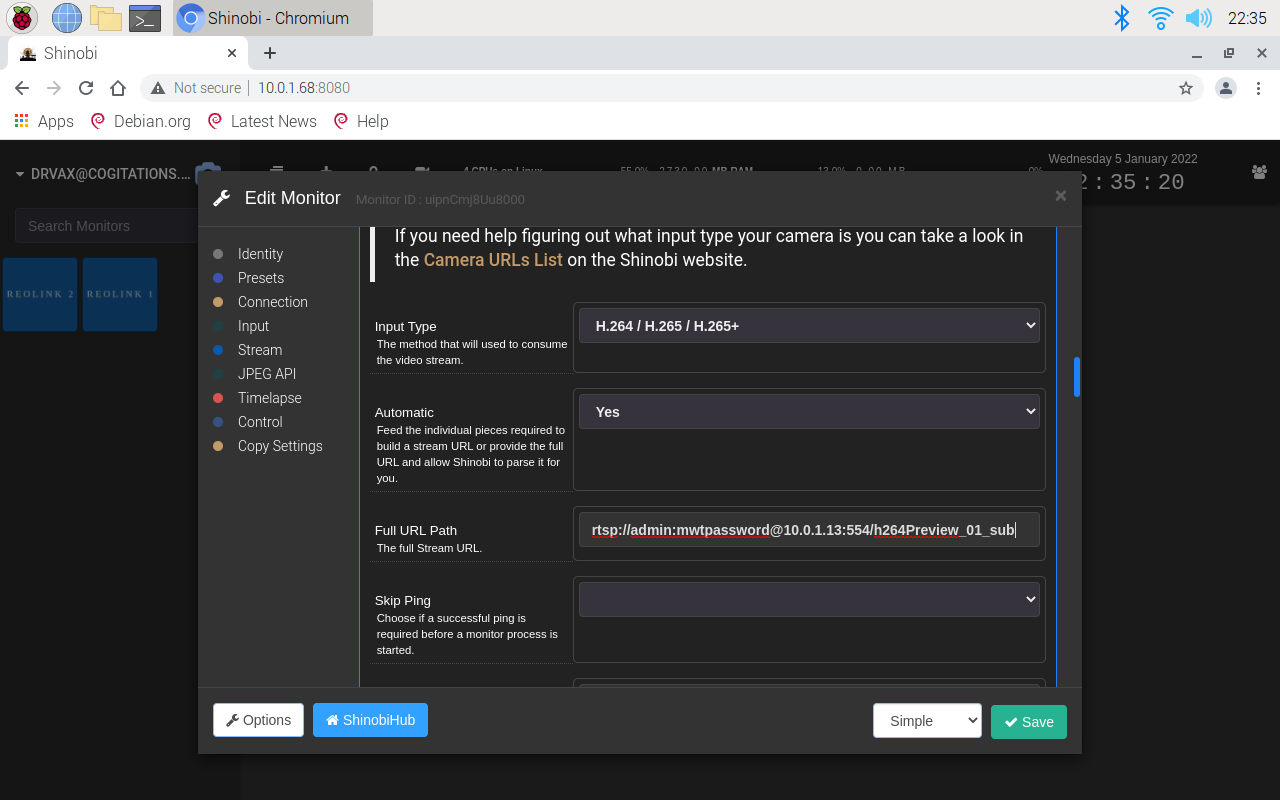
Since the images displayed are small, you can reduce the load on the Raspberry Pi by changing the feed from _main to _sub. Mouse over one of the feeds and click on the wrench, which will bring the "monitor" parameters back up. Scroll down until you see "Full URL Path" and replace the _main on the end of the URL with _sub. This will change the feed from high resolution to low resolution, sufficient for this application. It will also reduce the CPU load on a Raspberry Pi 4, for two feeds, from about 65-80% down to 40-50%.
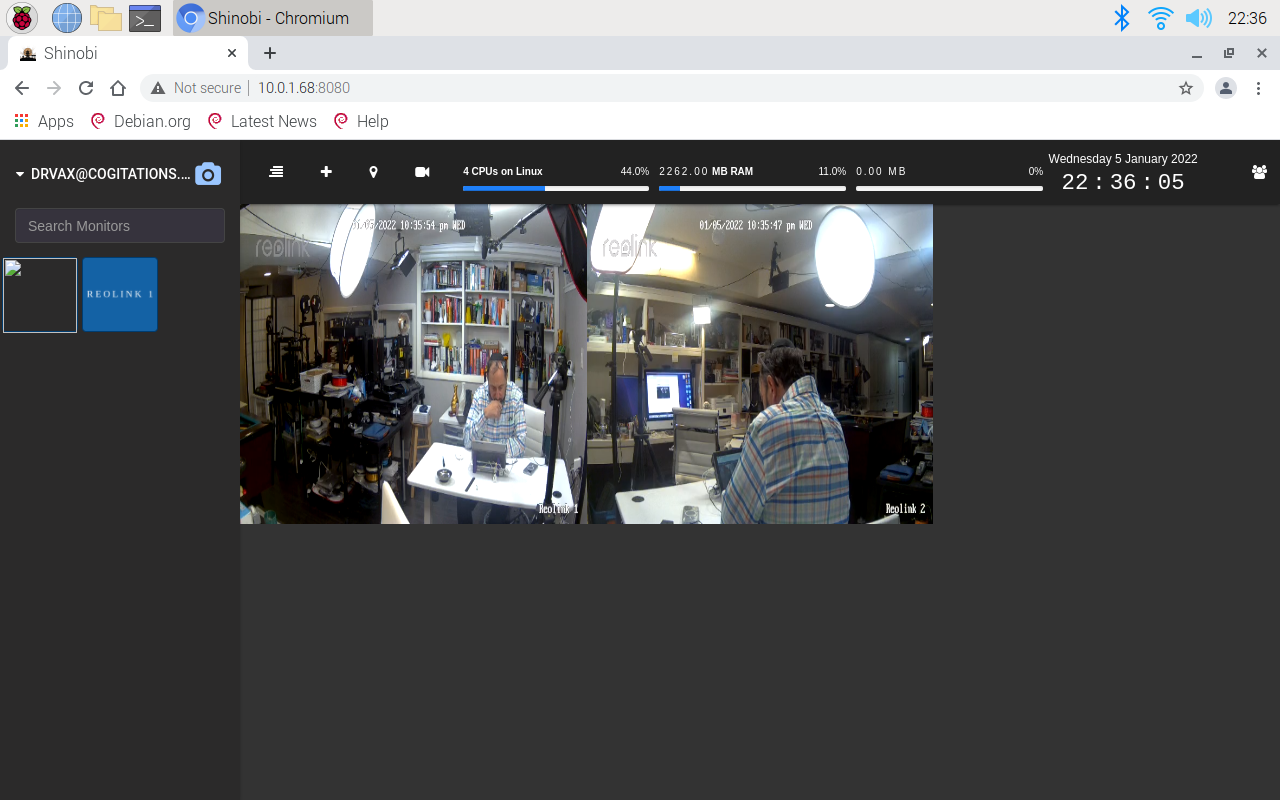
Unfortunately, this does not seem to improve the video lag significantly.
As you can see, the resultant video feeds look about the same at this size.
Next Steps
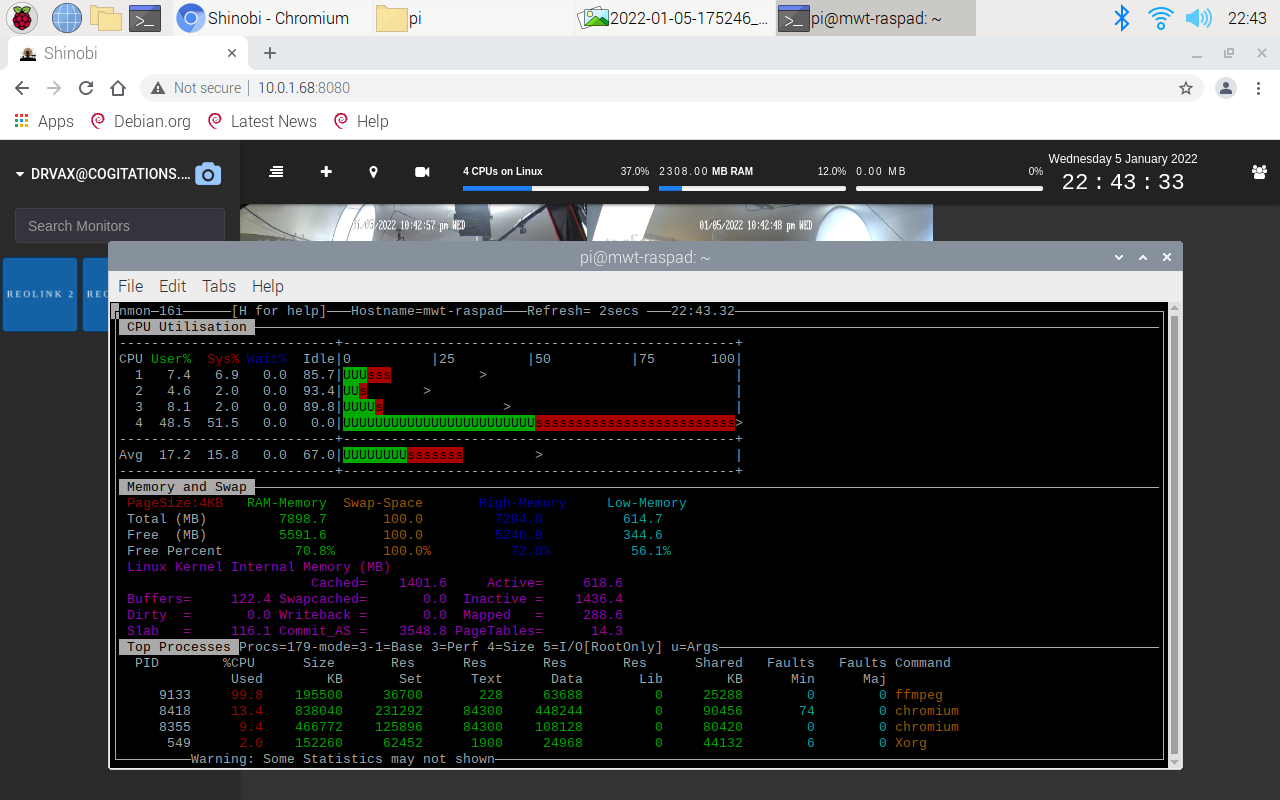
The Shinobi application has many features and tens if not hundreds of parameters you can tune. After changing parameters, I use a utility like "nmon" which can be installed with the following command to measure performance.
sudo apt install nmonThen to start nmon just type "nmon" in a terminal window. They hit the C key to see the CPU statistics, the N key to see the network statistics, M for memory, and T for top programs. You can also type an H for help with additional commands.
An advantage of nmon is that it uses character graphics so it is usable from any terminal interface.
An explanation of all of the features in the Shinobi application is beyond the scope of this tutorial. Instead, I encourage you to go to the Shinobi website for additional information.
Conclusion
The RasPad 3 hardware is excellent, and the performance of this application is limited by the quality of the cameras and the camera's RTSP implementation. Shinobi recommends switching to RTMP to reduce lag, but that protocol is not available on the tested cameras.
While the Reolink cameras are an excellent value, the RTSP implementation is not as robust as the proprietary protocol they use with their proprietary software solutions. Therefore, it is probably worth considering other WIFI/Network cameras that use RTSP as their primary protocol and may reduce the video lag or cameras supporting RTMP.
Overall this project did prove that for about $500, you could build a good video monitoring solution with a portable monitor and a range of features. Any limitations were in the software and not the RasPad 3 hardware. It also highlights the value of the RasPad 3 as a project building block.
I hope you enjoyed this tutorial, and let's continue to learn together.
Irv

